Google Slides is a free, powerful online presentation tool that doesn’t require advanced design skills. Over the years, it has evolved into a versatile platform that enhances teaching and learning in all types of educational settings. Regular readers of the blog know that I love sharing tips related to Google Slides, including templates for teachers and tips for making the most of this free tool.
Whether you’re using it for direct instruction, student collaboration, or interactive projects, Google Slides is a fantastic tool. Today on the blog, I’ve gathered some of my favorite ways to use Google Slides for teachers. You’ll find tips I love to share with educators about how to make the most of Google Slides in your classroom.
What is Google Slides?
Google Slides is a free, cloud-based presentation tool that allows users to create, edit, and share presentations online. Unlike traditional desktop-based presentation software, Google Slides is fully integrated with Google Drive. So, if you open up your Google Drive you’ll find all of your slides presentations whether you access it on an iPad app, Chromebook, or any browser on your laptop.
It supports real-time collaboration, meaning multiple users can edit the same presentation at the same time. This makes it an excellent tool for both teacher planning and collaboration and student projects. Google Slides is user-friendly and gives you instant access to lots of templates, fonts, and customization options without the need for additional software installations.
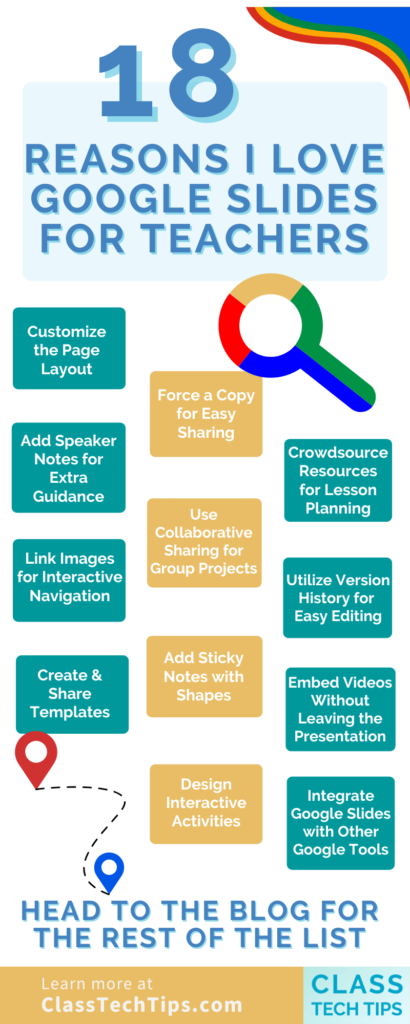
Google Slides for Teachers: Favorite Tips
Let’s jump into the list of eighteen teachers tips for using Google Slides!
Customize the Page Layout
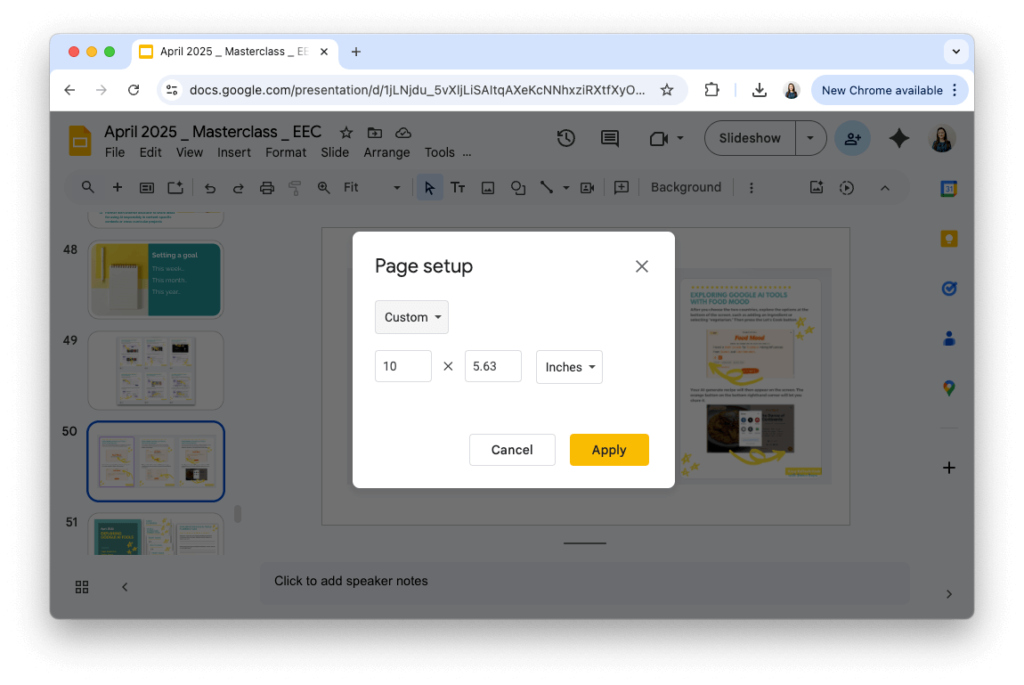
Google Slides allows you to change the page layout to suit different needs. Whether you need a standard widescreen presentation, a square format for social media-style graphics, or an 8.5 x 11 format for printable creations, you can customize your slides with ease. This flexibility makes it a great tool for digital and print projects alike.
To access this feature, just go to the Page Setup in the File menu. You can choose one of their options or customize the dimensions. I shared this strategy in a blog post titled, “A Microblogging Lesson Idea and Template You Can Customize.”
Add Speaker Notes for Extra Guidance
Speaker notes in Google Slides provide a space to add additional information or cues for presentations. You can use them to script your lessons, include reminders, or offer supplemental details for students who need additional guidance. Students can also use speaker notes for citations or self-reflections as they work on projects.
Link Images for Interactive Navigation
Google Slides enables you to hyperlink images, allowing students to navigate to resources on other webpages. Whether you’re linking to a reference article, a video, or even another slide within the presentation, this feature helps create interactive experiences for students.
In my book, EdTech Essentials: 12 Strategies for Every Classroom in the Age of AI 2nd Edition, I have an entire chapter dedicated to “Navigate.” When adding links to images, model for students how to navigate this type of interactive content and mention how it connects to other experiences they might have online.
Create and Share Templates
Using templates in Google Slides can save time and ensure consistency across student projects. You can create a master template for assignments, graphic organizers, or guided research slides. Regular readers of the blog know that I love templates!
Earlier this year, I chatted with Eve Heaton all about “Tips for Using Templates with Students – Easy EdTech Podcast 307.” Eve is an EdTech coach at her school and offered lots of tips for listeners. If you use a lot of templates, you might label them with a clear naming system to make them easy to locate in Google Drive.
Force a Copy for Easy Sharing
If you need students to make their own version of a slide deck, you can set up a force-copy link. By replacing “edit” with “copy” in the URL, students will be prompted to create their own editable copy of the document.
Google Classroom gives you the option to create a copy for students, but if you’re not using this platform, you still have the option to force a copy. This eliminates confusion and ensures each student has a personal version to work on. Are you making interactive notebooks for students with a tool like Diffit? Then, you might want to try using a force copy link.
Use Collaborative Sharing for Group Projects
Google Slides makes collaboration simple by allowing multiple users to work on the same presentation in real time. Whether it’s a teacher-led brainstorming session or a student group project, participants can contribute, comment, and edit together since the Google Slides presentation will update automatically.
Add Sticky Notes with Shapes
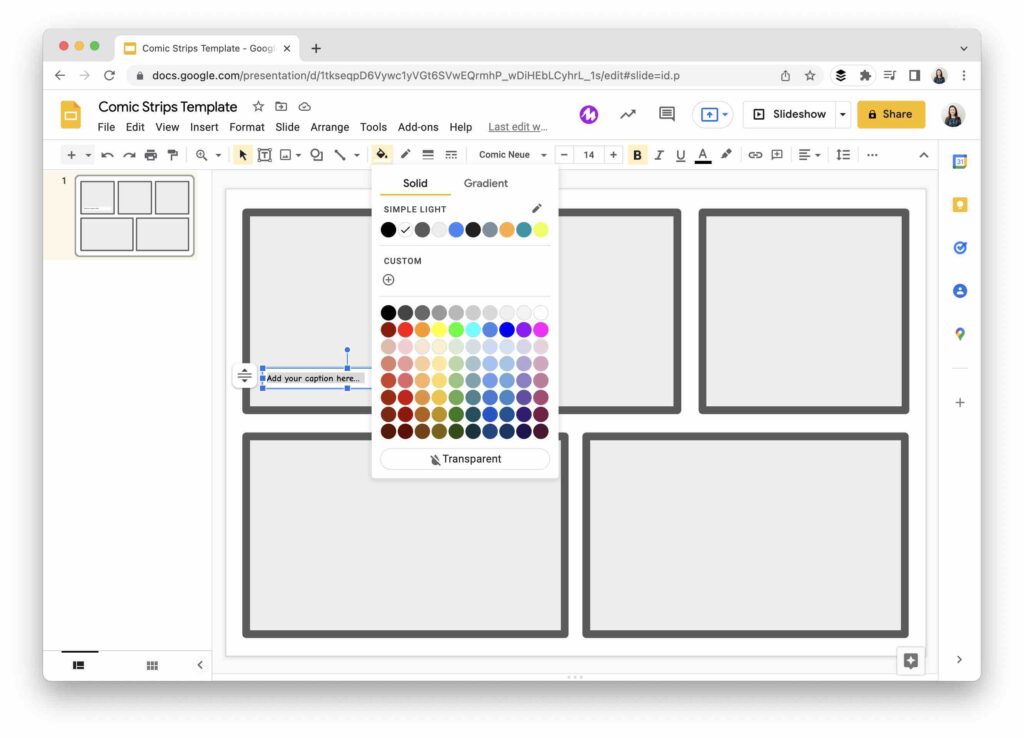
While Google Slides doesn’t have a built-in sticky note feature, you can use the shape tool to create digital sticky notes. These can be color-coded and placed anywhere on the slide. It’s a great way to add annotations, document your brainstorming, and have a visual organization of ideas.
Design Interactive Activities
Teachers can create interactive slides that go beyond static presentations. By embedding videos, inserting links, and adding response prompts, you can design lessons that promote interaction. For example, you might make a “choose your own adventure” activity with links to different activities so students jump around between slides or head to other sources on the web.
Crowdsource Resources for Lesson Planning
Google Slides is an excellent tool for crowdsourcing resources among educators. A shared slide deck enables teachers to collaboratively compile links, lesson ideas, and best practices for a unit of study. This strategy saves time and provides a valuable resource for ongoing lesson development.
If you’ve joined me for a webinar or workshop, I’ll sometimes set up a collaborative Google Slides deck for the group. I either assign or ask participants to claim one slide and they can add a response to a prompt, a takeaway, or a recommendation for “their” slide.
Utilize Version History for Easy Editing
The version history feature in Google Slides allows you to track changes, restore previous versions, and see who made specific edits. This is particularly helpful for monitoring student progress, managing group projects, and recovering information in case of accidental deletions. I also use this feature in other Google tools, including Google Docs.
Embed Videos Without Leaving the Presentation
Embedding YouTube or Google Drive-hosted videos directly into slides can help keep students focused on the lesson. Instead of navigating away to external websites, students can watch instructional content seamlessly within the slide deck. To add a video to a slide, go to the toolbar menu and choose Insert, then Video.
Integrate Google Slides with Other Google Tools
Google Slides integrates effortlessly with other Google tools such as Google Docs, Google Forms, and Google Classroom. Teachers can assign slides as part of an activity, collect responses, and streamline their classroom workflow without switching between multiple platforms.
Generate Exit Tickets and Formative Assessments
Google Slides can be used to create quick formative assessments or exit tickets. Teachers can design a few slides with reflection questions or prompts, and students can add their responses before submitting their version. This could be an individual response or a collaborative document where everyone responds in the same deck but on different slides.
Make Drag-and-Drop Assignments
With Google Slides, teachers can create interactive assignments where students drag and drop images, text, or shapes. This method is useful for categorization activities, labeling diagrams, or building interactive graphic organizers. You would most likely use the force copy option I mentioned earlier to give everyone their own copy.
Create Digital Choice Boards
Choice boards allow students to select from different learning activities. Google Slides makes it easy to set up a visually engaging digital choice board where students click on options to navigate to different tasks or resources.
Use Master Slides for Consistency
Master slides help maintain uniformity in presentations. By setting up a customized layout with headers, footers, and design elements, teachers can create cohesive instructional materials that students can follow with ease. This is sort of like having templates, but you are able to make further customizations.
Share Lessons with QR Codes
By generating a QR code for a Google Slides presentation, teachers can give students quick access to lessons on their own devices. This is particularly useful for flipped classrooms, station-based learning, or providing additional support materials you’re connecting to a physical space.
If you like QR codes, check out these other resources on my blog:
- 11 Things Every Teacher Should Know About QR Codes
- 12 Tips for Classroom Door Decorations with QR Codes
- 9 Ways to Use QR Codes in Your Classroom Library
Export as PDFs or Images for Offline Access
Google Slides presentations can be exported as PDFs or images, making them accessible even without an internet connection. This is a great option for students who may need printable versions of assignments or study guides. I prefer the PDF option since you can export the entire slide deck into one file at once.
Using Google Slides for Teachers (and Students)
Google Slides, with its browser-based interface, allows seamless sharing, auto-saving, and easy integration with other Google Workspace tools. If you’re already using Google Docs and Google Classroom, it’s certainly a great choice.
Whether you’re designing interactive lessons, facilitating group projects, or creating reusable templates, Google Slides’ versatility makes it a must-have resource. Do you have a favorite tip for using Google Slides that I should add to the list? Reply to one of my Monday newsletters (sign up for free here) and tell me all about it!