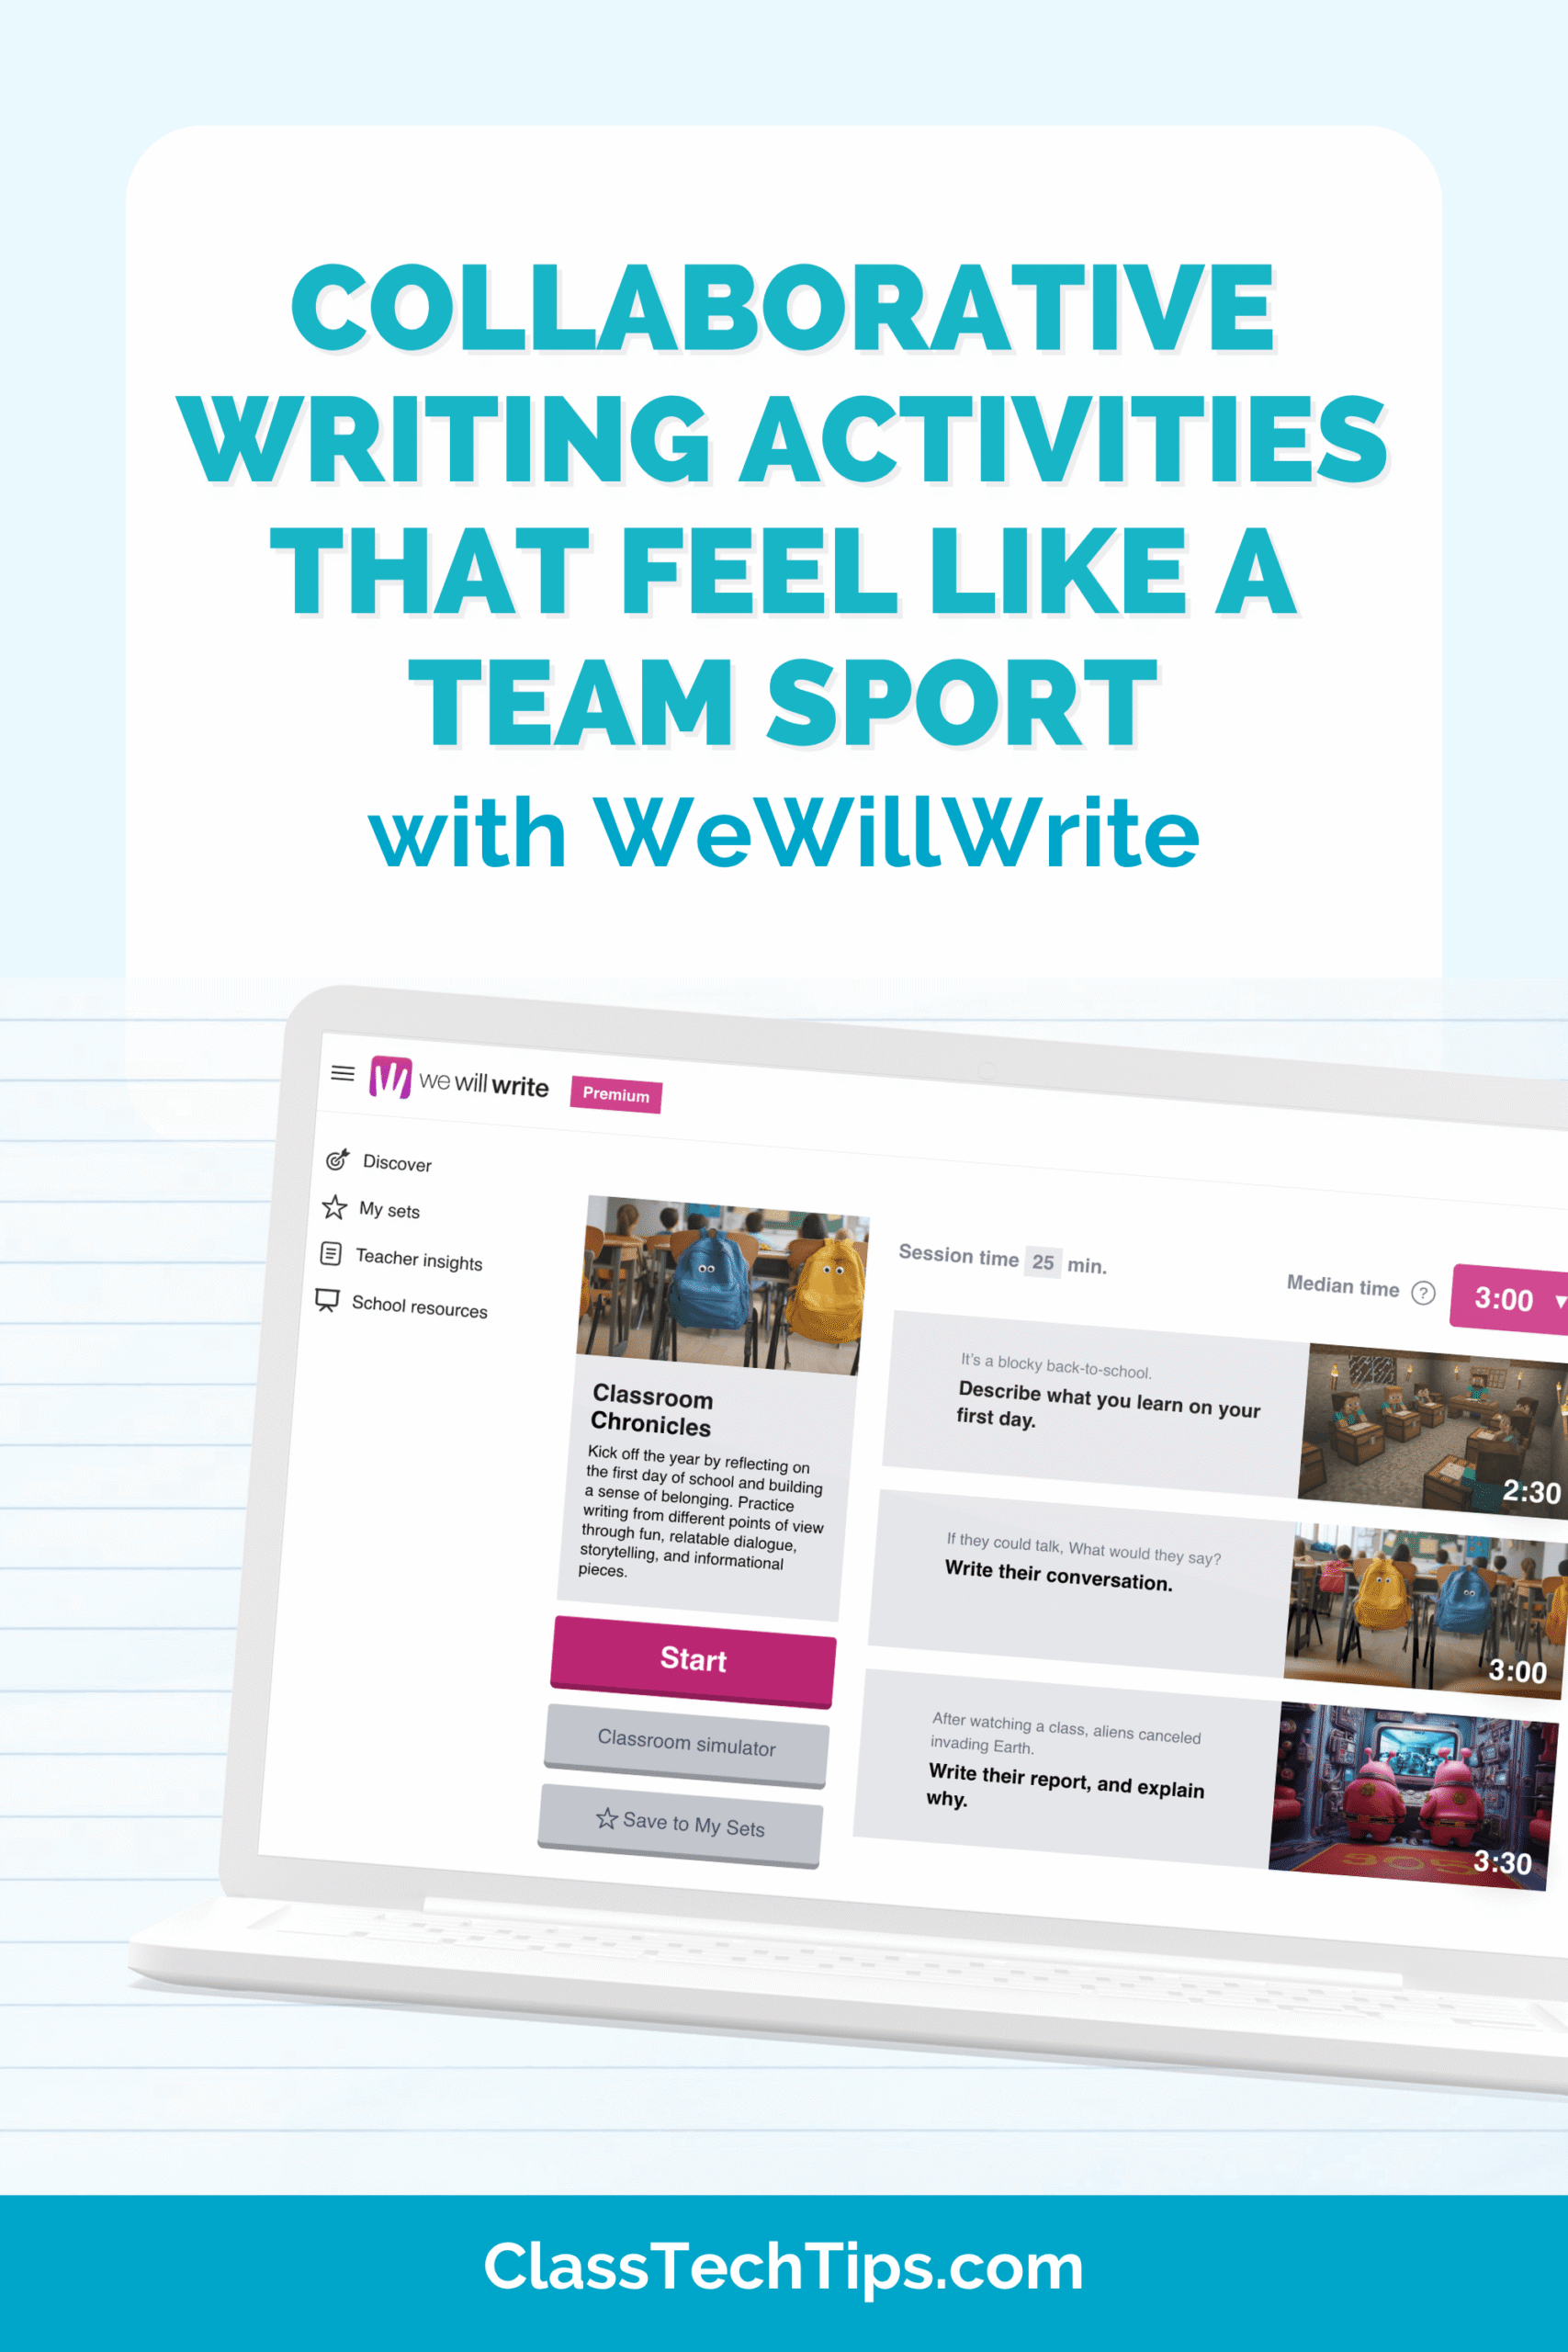
What is Microblogging? We see it everywhere, and your students might consume this content, too. Merriam-Webster defines microblogging (noun) as “blogging done with severe space or size constraints typically by posting frequent brief messages about personal activities.” When it comes to creating for an audience, a series of short-form posts is super popular — and I have a microblogging lesson idea.
From tweets on Twitter to a series of Instagram posts, microblogging can take many forms. If you’re wondering if this blog post is about encouraging students to post pictures and captions on a public social media page… not exactly. Instead, we’ll look at a microblogging lesson idea (and a template you can customize) that takes a spin on this popular way of posting updates for an online audience.
Student Audiences & Microblogging Lesson
The microblogging lesson that we’ll look at today is pretty open-ended and ready for you to customize. You can decide on the format and the prompts you share with students. I’ll share a few ideas and a template for you to use “as is” or make your own. With this lesson, you can simulate a traditional social media audience by examining this popular format for sharing ideas.
In my book EdTech Essentials, I dedicate an entire chapter to the idea of an authentic audience. Here’s a quick excerpt:
“Connecting student work to an audience is perhaps more important than ever, as online sharing prevails in our digital world. Students are familiar with having content shared online, and some may even be aspiring content creators. In today’s online world, students are well-positioned to identify content creators and observe how they connect with their audience. Students expect their own creations to be viewed and celebrated, and having an authentic audience is critical. ” p. 79
Download the free study guide for EdTech Essentials on this page.
Of course, you might decide to publish student creations on a school social media page if that is part of your regular practice. Or you might have another audience to share student work, like a partner class studying a similar topic.
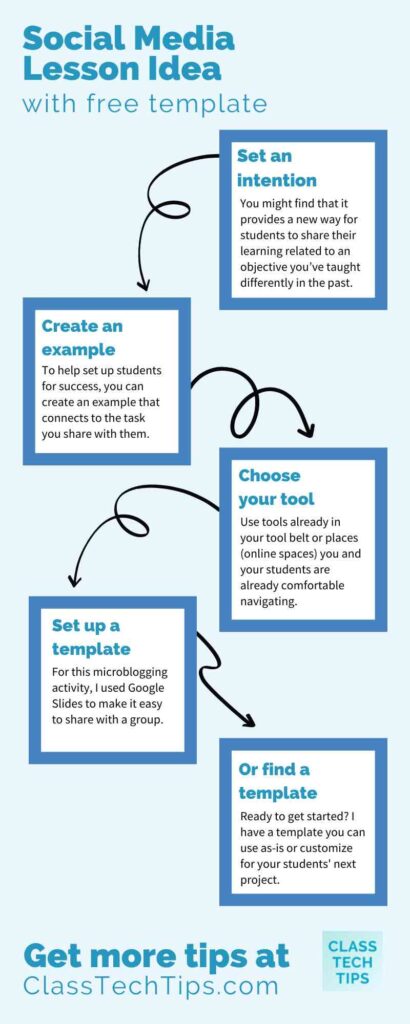
Set an intention
Before we look at tools and an example, you’ll want to set an intention for this project. For example, you might have the goal of giving students a space to capture their observations for a composting project. Or you might use this as a way to have students respond to reading responses. The focus of this activity is totally up to you. You might find that it provides a new way for students to share their learning related to an objective you’ve taught differently in the past.

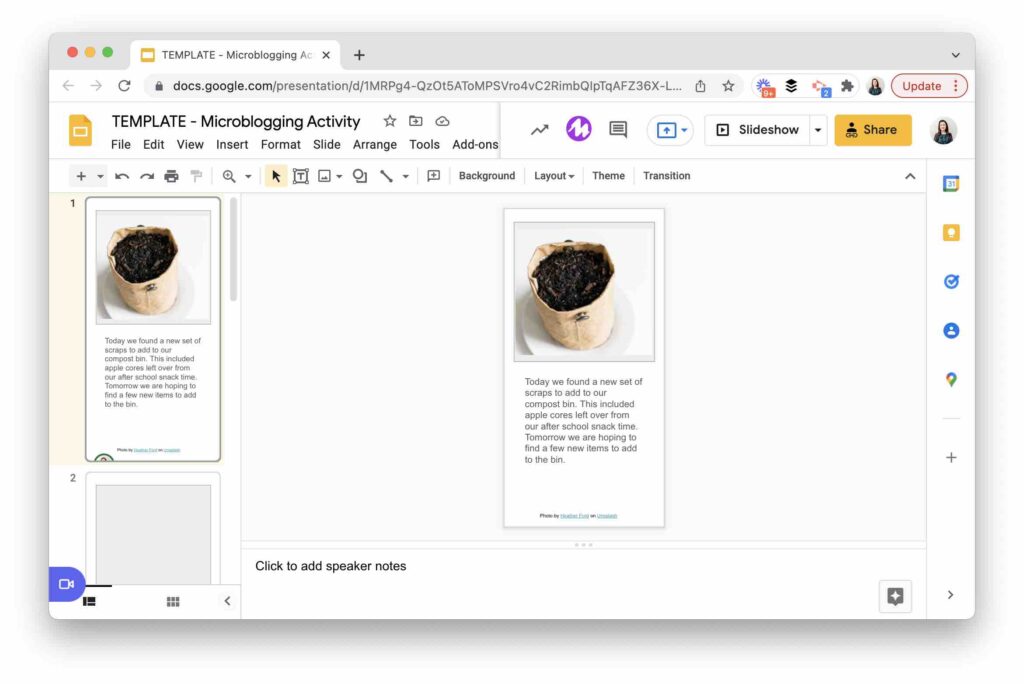
To help set up students for success, you can create an example that connects to the task you share with them. In the template I’ve created for you, you’ll see I included an example for you, too. This example connects to an activity where students might reflect on what they’ve learned after beginning a composting endeavor.
Choose your tool
I often use the phrase “embrace your place” when discussing ways to simplify technology integration. When I use the term place, I mean the space to organize and post content for students. For example, in a kindergarten classroom, your place might be Seesaw. In a middle or high school classroom, your place might be Google Classroom, Microsoft Teams, or another learning management system (LMS).
But this phrase can also connect to tools already in your tool belt or places (online spaces) you and your students are already comfortable navigating. So for this project, I’ll share screenshots from Google Slides, but you can use a variety of tools to accomplish the same goals.
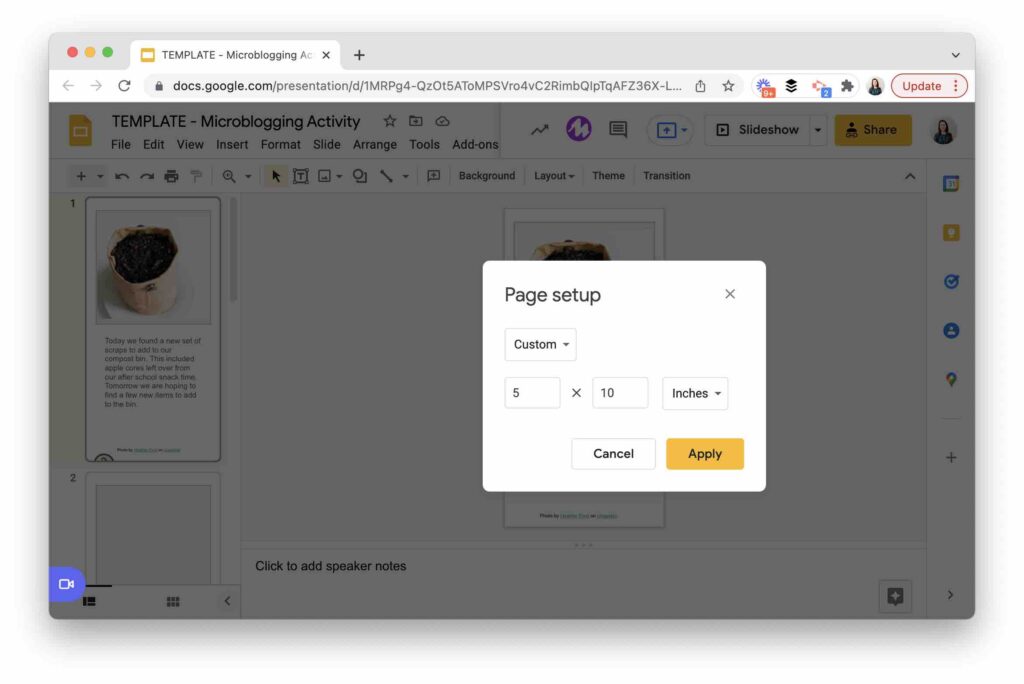
Getting started
For this microblogging activity, I opened up a new Google Slides and went straight to the Page Setup option under the File menu. This gives me the option to change the sizing to look more like what you’d see on an Instagram page. I choose the dimensions 5 x 10 inches, but you can choose whatever you like.
Then I added a text box to the bottom half of the slide and a gray box to the top half of the slide. After you share this slide deck with your students, they can make it their own. Students can add a picture to the top half and replace the gray box. They can type in their caption or short response below. Students can change the text size and font, too.
Student work example
After making your template, you might want to add an example as the first slide. In the example I’ve included in this post, I made a slide with a composting picture and a reflection about composting. At this point, you’ll want to think about your expectations and tasks for this type of project. Then, you can make an example that connects to what students will create.
Sharing a template
If you are going to share this with a large group of students so they can work on one slide as their classmates work on the others, you’ll want to have a system to make sure each student knows which slide is theirs. Alternatively, you might want to make a copy of your template for each student to have their own. Then they can make one or several slides for their microblogging creation.
Where can students find pictures to use? For this project, you might want students to use a picture they’ve snapped themselves or one they have found. Google Slides lets students upload a photo from their device or Google Drive. Alternatively, students might search for an image that grants permission to use it on a website like Unsplash. This blog post also has tips for creating collections of photos for students.
Ready to get started? Here is a template you can use as-is or customize for your students. Remember, this isn’t just a “Google Slides” project. You can try this out with another slide-based presentation tool or use the concept of microblogging with any open-ended creation tool.