Do you use YouTube in the classroom? Whether you’re introducing new concepts, reinforcing learning, or providing extra resources for students, YouTube can be a powerful tool. However, finding the right videos and making the most of YouTube’s features can take up planning time.
So today, I’ve put together this list of YouTube tips to save you time and help you maximize your classroom experience. These strategies will help you streamline your workflow, enhance student engagement, and eliminate common frustrations that come with navigating online video content.
With so much content available, it’s easy to feel overwhelmed when searching for high-quality videos. It’s easy for YouTube to feel like a distraction sometimes, but there are so many ways it can act as a great tool to support teaching and learning. Whether you’re new to integrating YouTube into your teaching routine or looking for fresh ways to optimize your use of this resource, these practical tips will help you make the most of the platform while saving valuable time.
Using YouTube in the Classroom
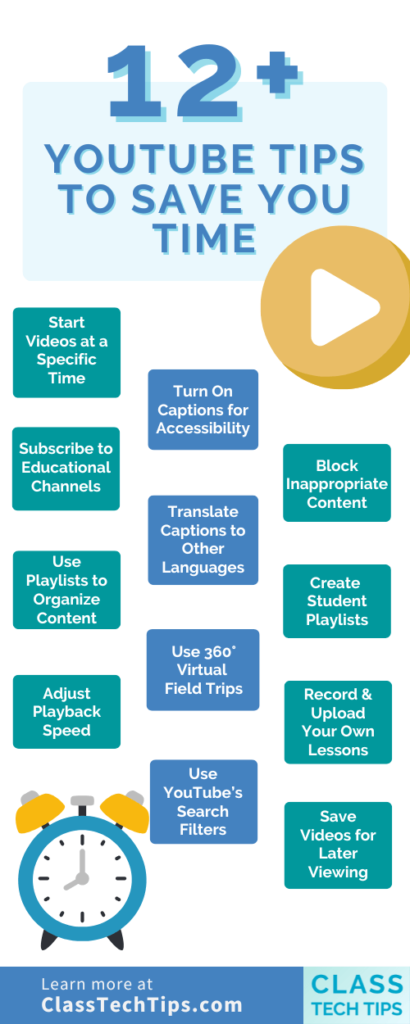
Here are my fifteen tips for making the most of this powerful and popular platform!
Start Videos at a Specific Time
When sharing a long YouTube video, save students time by directing them to the exact moment they need to watch. Click the Share button below the video, check the “Start at” box, and enter the precise time. This is particularly useful when sharing a long video with students, and you want them to focus on just one part.
Subscribe to Educational Channels
Save yourself from endless searching by subscribing to high-quality educational channels. Channels like National Geographic and TED-Ed consistently provide engaging and reliable content. Of course, if you are teaching a specific subject, you’ll want to find channels related to that type of content. You can find these by doing a keyword search and using the search options to sort through channels.
Check out my free guide full of YouTube tips for teachers >>
Use Playlists to Organize Content
Create YouTube playlists to group videos by topic or unit. Instead of sharing multiple links, you can send students one playlist link for easy access to all relevant videos. I’ve featured tips for making YouTube playlists in the past and the steps to follow to make your own.
Adjust Playback Speed
Speed up or slow down videos to suit student needs. Click the Settings (gear icon) and choose a playback speed from 0.25x to 2x speed, making comprehension easier for struggling students or saving time on review content. This is also a helpful tip for you if you are reviewing content before sharing it with students and want to watch it in double time.

Turn On Captions for Accessibility
Enable closed captions for students who benefit from reading along with the video. Captions can assist students who need extra reinforcement of spoken content. You’ll also want to keep in mind that this can be a distraction for some students, so you’ll want to check in with students to see how they respond to this type of support.
Translate Captions to Other Languages
If you have multilingual students, click the Settings button, turn on Subtitles, and select Auto-Translate to choose a language that best supports their learning needs. This might not be a strategy you use for whole-class viewing but something you introduce individually to students who could benefit from this option.
Use 360° Virtual Field Trips
Give students an immersive experience with 360-degree videos. Search for “360 video” and explore everything from the Great Wall of China to deep-sea diving—all from the classroom. Simply adding this to your keyword search will help you find panoramic views. Alternatively, you can use the advanced search option to sort through 360 videos, too.
Use YouTube’s Search Filters
Speaking of YouTube’s search filters, there are plenty of reasons to use these options. Narrow down your search results by using the Filters option under the search bar. Sort by upload date, video length, or channel type to quickly find the most relevant content.
Bookmark Key Moments with Timestamps
Instead of sharing an entire video, add timestamps in your YouTube description or comments. Type the time (e.g., 3:45), and YouTube will turn it into a clickable link that jumps to that moment. This is similar to the first tip on the list and will help you keep your resources organized from one school year to the next.
Don’t forget to download this free guide full of YouTube tips for teachers >>
Block Inappropriate Content
Enable Restricted Mode on YouTube to filter out content that may not be suitable for students. Scroll to the bottom of YouTube, click Restricted Mode, and turn it on for safer browsing. Even if you are the one doing the searching, it will help you sort through content before sharing it with students.
Embed Videos in Google Slides
Enhance your presentations by embedding YouTube videos directly into Google Slides. Click Insert > Video, paste the YouTube link, and adjust the settings for playback options. If you’re a regular reader of the blog, you know how much I love Google Slides. Here are a few more posts that feature this favorite free EdTech tool:
- 9 Favorite Google Slides Tips — Easy EdTech Podcast 093
- How to Create a Comic Strip in Google Slides
- 9 Reasons Why I Love Google Slides (And You Should, Too)
Save Videos for Later Viewing
Click the Save to Watch Later button (clock icon) to store videos you want to preview before sharing. This keeps your recommended feed clean while allowing you to revisit useful videos. If you aren’t able to preview every video you want to share with students during a unit of study all at once, this gives you a “Watch List” to come back to later.

Create Student Playlists
Encourage student choice by letting them curate their own playlists on YouTube. Assign research topics and have students build collections of videos to present or review with the class. Your students can make a list of videos in Google Docs with hyperlinks to all of the content they want to share. Alternatively, if they have their own account, they can build playlists right from within YouTube.
Hide Video Controls for Focused Viewing
Use YouTube’s full-screen mode (press F on your keyboard) or hide distractions with browser extensions like Turn Off the Lights to make video watching more immersive. This is a great option for whole-class viewing or a tip you might want to share with students who are working to avoid digital distractions.
Record & Upload Your Own Lessons
Create your own educational content by recording short instructional videos using a video recording tool. Earlier this school year, I featured ScreenPal and lots of ways to use video in the classroom. Although they have the option to host content on their site, you can also download the videos you make with this tool and upload them to YouTube. You can upload them to a private or unlisted playlist for easy student access.
Making the Most of YouTube in the Classroom
How will you use YouTube in the classroom this school year? YouTube is a powerful tool for engagement, accessibility, and independent learning. The tips on this list can help you streamline your video usage, save time, and create a better experience for your students. When used intentionally, YouTube can offer dynamic ways to support different learning styles and needs.
In my book EdTech Essentials: 12 Strategies for Every Classroom in the Age of AI 2nd Edition, I have an entire chapter dedicated to “Curate” and handpicking resources for students. If you want more technology tips, check out the book and my others on Amazon (or your favorite book store) or download the free study guide if you already have a copy!