Do you give presentations to students, colleagues, or families? Today on the blog, I have a handful of presentation tools you can use for your next slide-based presentation. You might not use all of them at the same time or for the same presentation, but I think they’re worthy of your consideration this school year.
On this list, I’ve included some types of tools along with examples you can try out right away. If you’ve joined me for a presentation in the past few years, you know that my recommendation is to always use tools that are already in your tool belt. So, for example, you might have a favorite QR code generator, so stick with that instead of using the one I recommend below.
Let’s jump into the list!
Presentation Tools You Have to Try
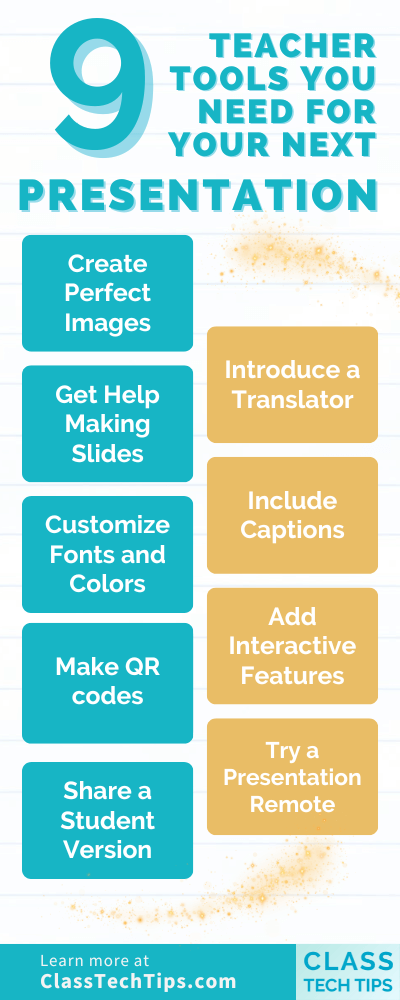
Create Perfect Images
Want to make the perfect image for your next presentation? Skip the Google image search and use a generative AI tool instead. Adobe Firefly is an excellent choice for generating images for free. If you’re interested in adding perfect images to your next presentation, have a listen to this new episode of my Easy EdTech Podcast.
Get Help Making Slides
For your next presentation, you might want some help making slides. I’ve shared lots of Artificial Intelligence resources on the blog this year, including one that can help you make slides. Curipod is a great option to help save you time making slides on a wide variety of topics.
Customize Fonts and Colors
One of the many presentation tools I think is fantastic for making slides for your next presentation is Canva. In addition to lots of templates to choose from, you can instantly change all colors and fonts across your deck. This can save you oodles of time.
Make QR codes
Mentioning a digital resource in your next presentation? Add a QR code to your slide deck. I love QR codes, and there are plenty of tools to make a QR code quickly. It’s one of the “quick action” items in Adobe Express that are worthy of exploring.
Note: Check out this post on creating flyers for more ideas on how to use QR codes.
Share a Student Version
Make a version of your next presentation for students (or whoever your audience might be). Although you can share a “view only” version of a Google Slides presentation, you can also share an interactive version. You can do this with Nearpod, which is one of my favorite presentation tools. All you have to do for your next presentation is share a link with students for a “self-paced” version.
Introduce a Translator
Another tool to consider for your next presentation is a translation tool. If you have a multilingual audience, a translator could be helpful. Try out a tool like Microsoft Translator, which has a fantastic mobile app. Your participants can download the app on their device and choose the language for their own customized captions.
Include Captions
Speaking of captions, you might also want to have captions as part of your slide deck presentation. Some presentation tools have this built right in, including Google Slides. When you’re in presentation mode, all you have to do is toggle the captions on, and it will use your voice to generate and display the captions in real time.
Note: Here is another resource with tips for Google Slides.
Add Interactive Features
I host lots of in-person and virtual workshops and love to include opportunities for everyone to participate. With very big groups, like a keynote presentation, I’ll often use a tool like Mentimeter for a quick poll or to create a word cloud. There are lots of presentation tools with interactive features built right in, including Slido and Lumio, just to name a few.
Try a Presentation Remote
One of my favorite presentation tools is something you hold in your hand — a remote. This is the one I use most often, and this is one I recently saw a speaker use that is on my wish list of items to try. This might seem like a bit of an investment upfront, but it does make a big difference if you like to move around a space and want an easy way to advance slides.
Ready for your next presentation? You might add all of these presentation tools to your tool belt or start with just a few. These are ready for you to customize, so even though I mentioned a few examples throughout the post, use the tools that make the most sense for you. And if there is something I left off the list, send me an email (just reply to my weekly newsletter — sign up here) or send me a direct message on Instagram or Twitter (X).