Are you in need of an audience for students? Imagine your students have spent a couple of days, or a couple weeks creating a video about any topic. It could be kindergarteners telling what they know about the lifecycle of butterflies or high school students reenacting a moment from World History. They’ve put in hard work and they need an audience.
You could email links to your principal and hope they have time to watch. Or you could plan an event and invite families—both great options. But what about a quicker way to get eyes on student projects? A way for their work to be seen, celebrated, and validated without a big time commitment or extra planning?
Creation in the classroom is so important. Helping students become savvy consumers of content is essential. However, students can create all sorts of content to show what they know, about any subject area. From math tutorial videos inspired by Khan Academy to book trailers that try and convince someone to read their favorite book, the possibilities are endless.
This blog post is a modified version of the transcript to a past episode of the Easy EdTech Podcast. It’s a little more conversational than how I normally write — because this is taken from a favorite podcast episode. Rather listen than read? Click here or press play below. Quick Ways to Share Student Videos with an Audience
An Audience for Students
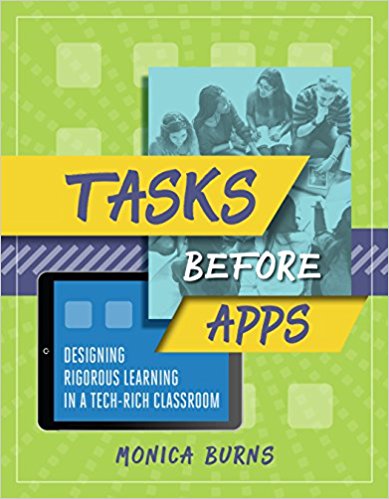
Regular readers of my blog know that I love to share ways to showcase student learning. Especially with video creation tools like Adobe Spark. In my book Tasks Before Apps: Designing Rigorous Learning in a Tech-Rich Classroom I share an entire chapter on creation in the classroom. It expands on some of the pieces we’re talking about today. This includes using graphic organizers (like my Spark Video planning pages), checklists and rubrics.
Students can easily create and share content, specifically student videos. That being said, the following quick ways to share are really transferable to other student creations. This could include a student ebook, a website they create. Or pretty much anything with a link to share or a file to upload somewhere.
Flipgrid
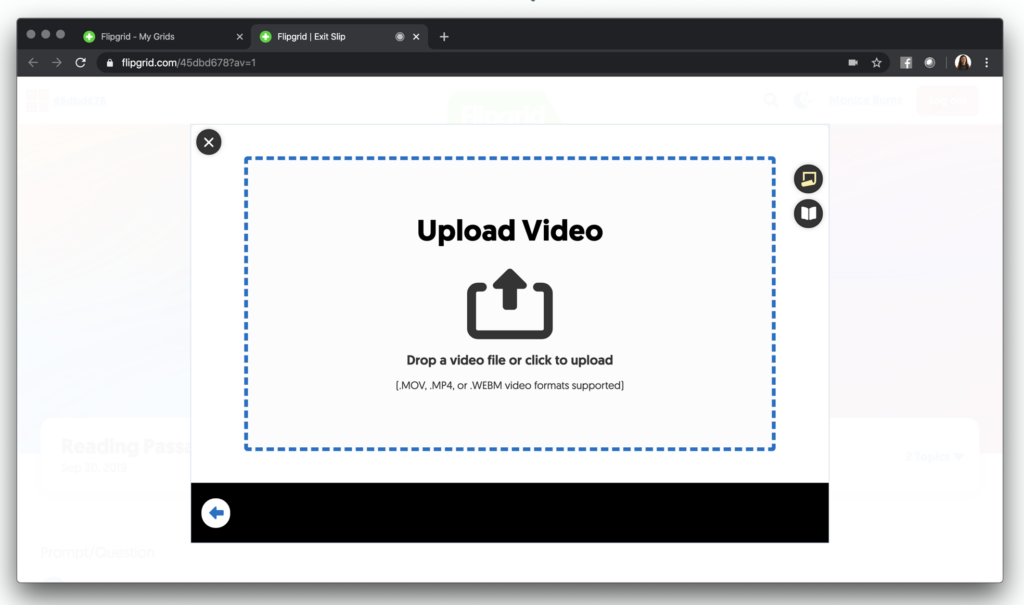
First up on our list of quick ways to share student videos in Flipgrid. Now I love Flipgrid, and it’s most common use case is for video reflections. Students essentially open up Flipgrid and record themselves talking into the webcam of their device. This is fantastic of course, but today we’re talking about sharing videos students have already made.
With Flipgrid, students can add a link to their response or even upload a video file. This is a quick way to share student videos since you can set up a Flipgrid page, invite students to join, and they can add the link to their video or just upload the file to their video if it is saved on their computer instead. If students have a video link to share they can add a short introduction to their video, similar to a traditional Flipgrid video response. When it comes to the audience, students can watch and comment on each other’s videos, or you can have a partner class join in on the fun to watch student videos, too.
Using Flipgrid with Students
Now if you’ve used Flipgrid before this adds an extra layer to your role out to students. And if you use Flipgrid all of the time, I definitely encourage you to try out their new augmented reality feature. This allows students to share their Flipgrid submissions as an augmented reality experience by quickly creating an AR trigger. Then other people can scan the AR trigger and watch their video pop off the screen.
On Episode #40 of my Easy EdTech Podcast, Simple Augmented Reality Apps for Kids, I talked about augmented reality apps, and I love augmented reality when used to connect students with content. But AR can also connect student content with other students or any audience who is ready to scan their work. Share is actually the ‘S’ I share in my ACES Framework in my book Tasks Before Apps: Designing Rigorous Learning in a Tech-Rich Classroom.
From Flipgrid (with or without augmented reality) to the next “quick way” on our list, you can use another type of scannable technology to help students quickly share their videos.
QR Codes
I love QR codes and regular readers of the blog know I’ve been blogging about them for years and years. A podcast episode earlier this year covers this topic. It’s Episode #24, Quick QR Code Tips to Add to Your Tool Belt. Of course, you can always scroll back to older episodes and blog posts, too.
QR codes make it easy to share student videos quickly, too. All you have to do is link a video to a QR code, then anyone with a QR code scanner can scan and watch a student video. For this “quick way” students have to create a video that is shared to a link. Spark Video is one example of a tool that lets students publish their videos to a link.
Creating Links to Videos
If your students download their videos instead (from a tool like iMovie) then they can save it to a space that gives them a link (like Dropbox or Google Drive) and use that link to create a QR code. Just make sure that this link has sharing permissions open so people can play the video.
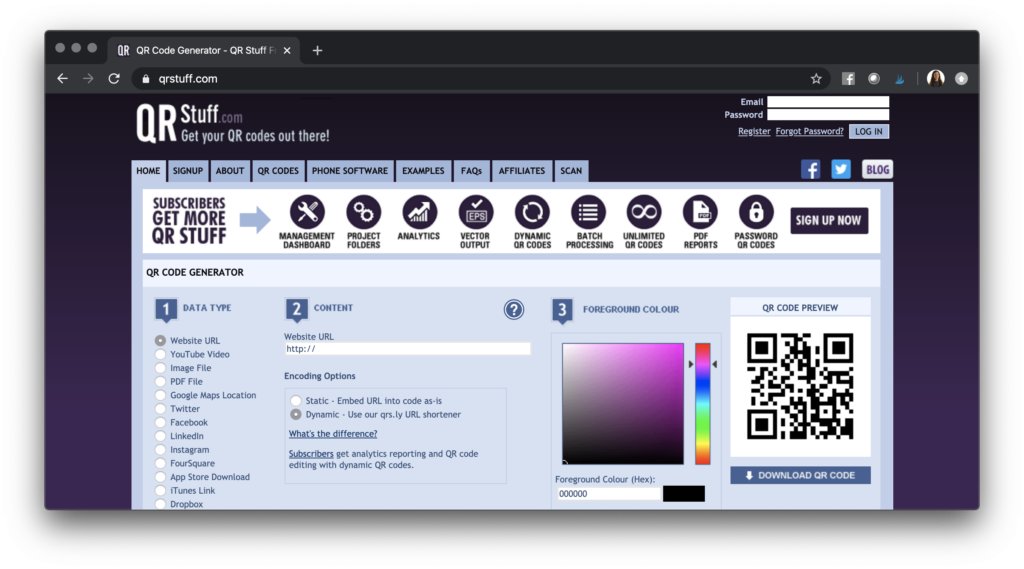
Once you have the link to the video, copy and paste it into a QR code creator like QRstuff (or any QR code link maker). There are lots of free options for this. This type of tool will then create a QR code you can download. Anyone with a QR code app can then scan the QR code and watch the video.
Especially if you are working with older students, don’t let this be another thing on your to-do list. Students can easily create QR codes and print them out to share with someone else.
Seesaw as an Audience for Students
If you like the QR code idea you might want to combine it with another quick way to share student video creations — Seesaw. Seesaw is a popular digital journal tool for students. Even though you might see it used more often in elementary school classrooms they have plenty of resources for high school and middle school teachers that I encourage you to explore if you’re working with those student groups.
To give a quick audience for student videos you can have them use Seesaw in a few different ways. First, you might simply have them upload or share a link to their video to Seesaw. Then their classmates, and any family members with a linked account can view it.
When students add a video to Seesaw, it also gives you the option to get a link or a QR code for their video. Then you can share the link with a partner class, or any group acting as your students’ audience. If you decide to share the video as a QR code, then it will automatically create a QR code so anyone can scan the QR code and see a student’s video. This is a great option for sharing multimedia projects like a student video in a physical display like a bulletin board or posters for a gallery walk.
Padlet
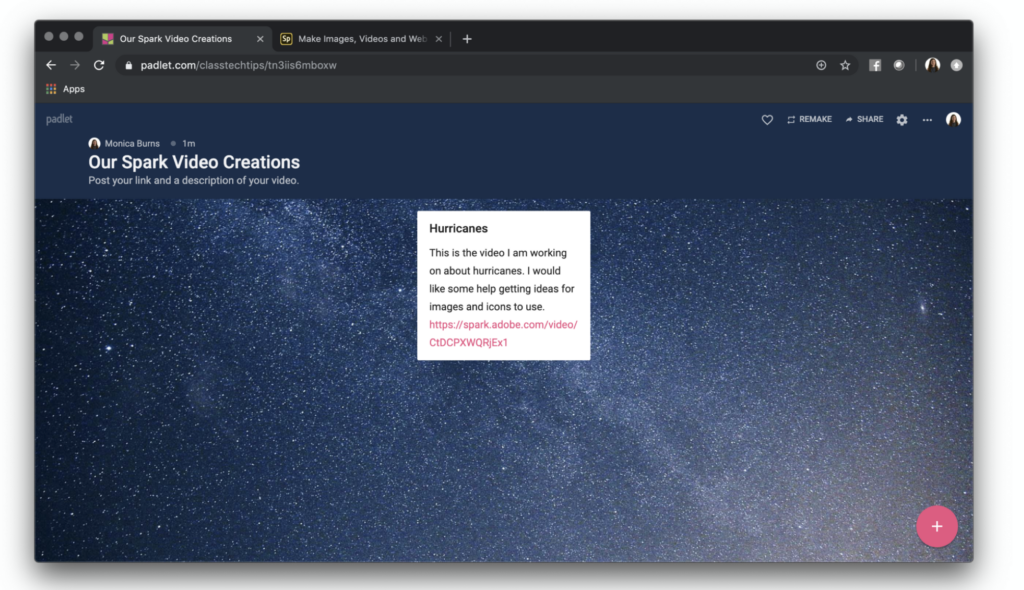
Another quick way to share students’ videos is with the tool Padlet. Now I have a blog post about using Spark Video with Padlet that focuses more on the process of video creations and how students can create Spark Videos and post them to Padelt to ask for feedback from their peers. Today we’re talking more about using Padlet as a way to post final video creations.
Now with this quick way, you can use the free version of Padlet which has some limitations but should work well for you. The way I shared Seesaw as an option earlier can also use just the free version of Padlet.
To share student videos quickly with Padlet, teachers can go to Padlet and set up a page for students. Then they can share the page link with students and students can add the links to the videos to this master class page. Depending on the group you’re working with, I would encourage you to have students include a sentence or two with the video link they post. This way there is a teaser or introduction for someone to read before they click on the link to share the video.
Short URLs
Another quick, and totally free way to share student videos is with a Short URL generator. If you have ever shared a video so that it creates a link, you know that sometimes those links can be long and messy. This is true with Google Drive links and Spark Video links, and you wouldn’t ask anyone to type in those long links for any reason.
If you are having someone simply click on a link, then it doesn’t matter how long and messy they are. But if you plan on having someone type in a link on their device (instead of scanning a QR code like I mentioned before), then creating a Short URL is a great option.
Creating Links with Bitly
My favorite is Bitly. I have a free Bitly account, and it let’s me copy and paste in a long, messy website link, and then I can decide what goes after the bit.ly part of the website. For example, you might create a bitly for a student video they created and you want people to easily type in to watch.
If you’ve seen me speak at an event I often use bitlys to share student work examples. For instance, I love sharing a Spark Video created movie I came across on YouTube, and I created a bitly link so it would be quick for other people to find, too. I pasted in the long URL and turned it into a bitly. So this way if anyone types in bit.ly/SpTurtles they’ll quickly find the videos.
Social Shares to Expand an Audience for Students
The final quick way to share student videos is through social shares. Before posting anything online, make sure to check student permissions. Even if you’re only sharing a private link and don’t plan to post it widely, it’s still a link. You should treat it like public content.
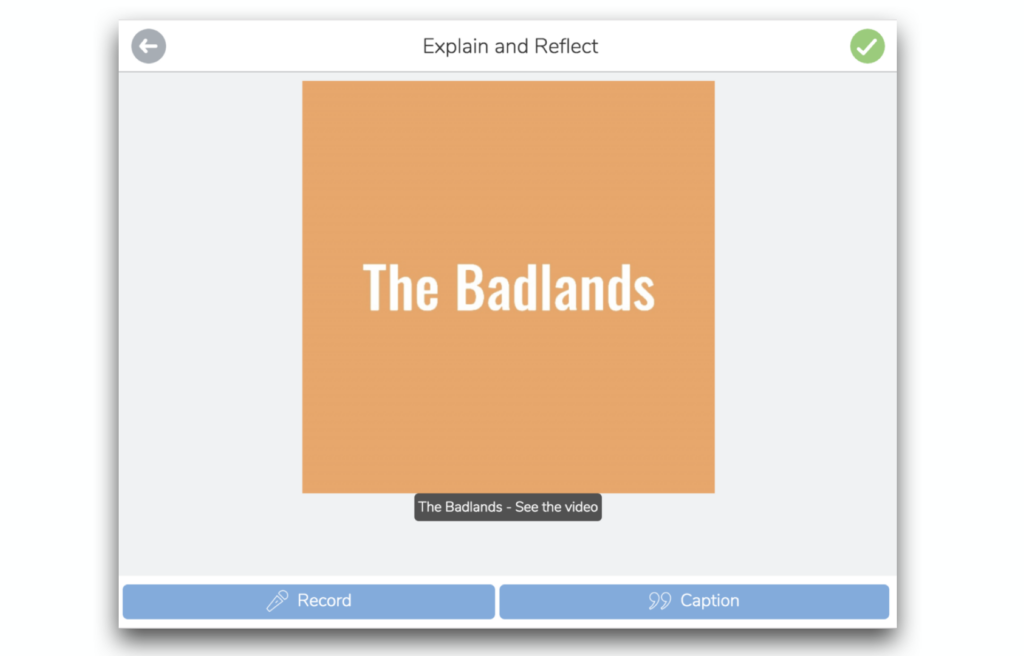
If you do want a wider, more public audience, you can share student video links in social spaces like a class Twitter feed or a school Facebook page. This will definitely give students a quick audience, especially if you tag or share with organizations who might want to share and celebrate student work, too. For example, the national parks are all pretty active on social media. So if students are creating persuasive videos to try and convince someone to go to a national park, you might tag The Badlands Twitter handle when sharing a student video in this space.
So today, we looked at a handful of ways to quickly share student videos with an audience: Flipgrid, QR Code, Seesaw with QR Code, Padlet, Short URLs, and Social Shares.
Getting Started with Audiences for Students
Are you sharing student videos in your classroom this year? I’d love to hear all about it! Leave a comment below or tag @classtechtips on your favorite social media platform. Share some of the audiences for students you have created this school year.