I’ve had the pleasure of working with this company. All opinions are my own.
Do you have a class website? Or are you building a website for students or parents? If you’ve ever wanted to add audio to your website, this blog post has you covered. I’ll share how you can add voice recordings to a class website. We’ll also look at how adding audio can help you, your students, and your school community.
Why should I add voice recordings to my website?
Adding audio recordings to your website can benefit both you and your audience of readers. If you want someone who visits your class website to learn something and take action, they’ll need to understand what you’re sharing and asking. For example, if you make a class website and it includes a paragraph of directions, you want to make sure your students (or families) don’t miss it.
You can add audio to your website so anyone who visits your page won’t miss important information. And of course, a voice recording isn’t limited to just one language. You might make a class website in English, but record your voice in Spanish or another language to add it next to your text.
How To Set Up a Class Website
Before we add our audio recordings, let’s set up a class website. Regular readers of the blog know that I love the Adobe Spark tools. I often feature activity ideas on my site, and Ben Forta and I even wrote a book featuring Adobe Spark. You can learn more about our book on this page.
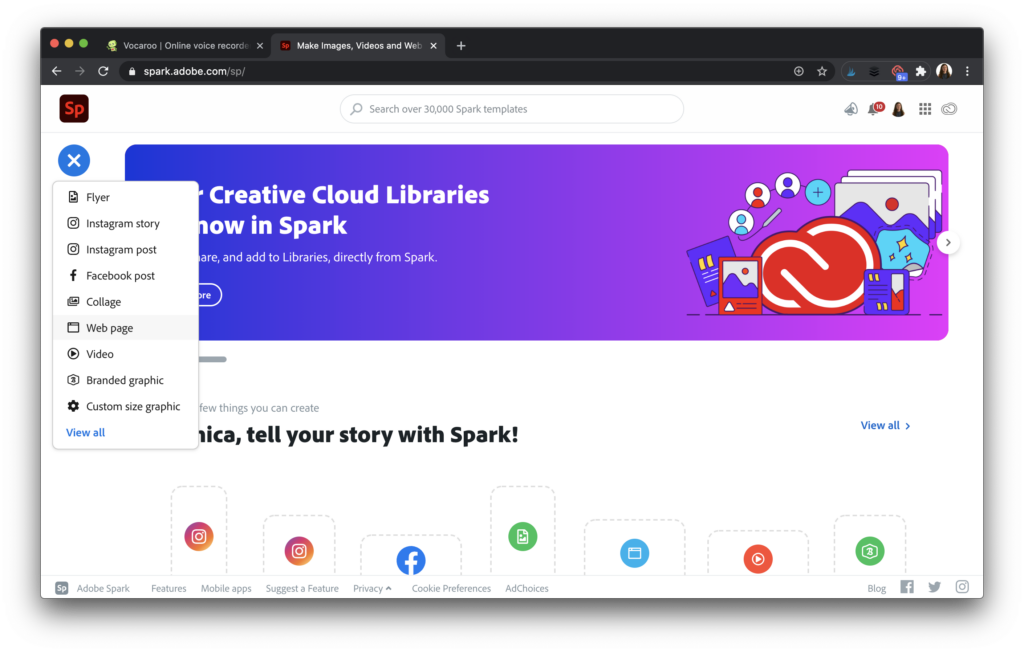
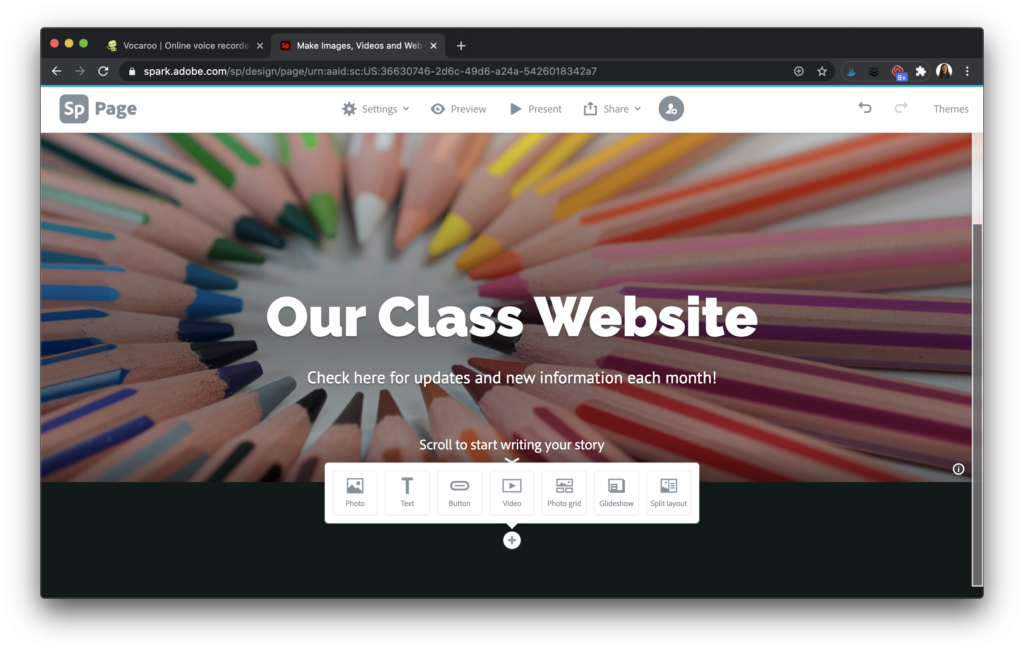
To set up your class website, head over to Adobe Spark’s website, or download the Spark Page app. In this blog post, I’ll take you through the website (using my Chrome browser), but you can follow the same steps on the app. Choose the web page option as shown above, then add a title and header image to your page. For more ideas about class websites, check out this blog post.
Once your website is set up, you can add text and the links to your audio recordings. Any time you see the plus sign, you can add more to your page.
How can I add my voice recordings to my class website?
Let’s follow the steps below to get you all set up!
Add Voice Recordings to Your Website
To add your voice to your webpage, open up a new browser and head to Vocaroo’s website. When you use Vocaroo for the first time, it might ask you to approve the use of your microphone so you can record and capture your voice. Vocaroo is an audio recording tool, so all you have to do is press record, then start talking.
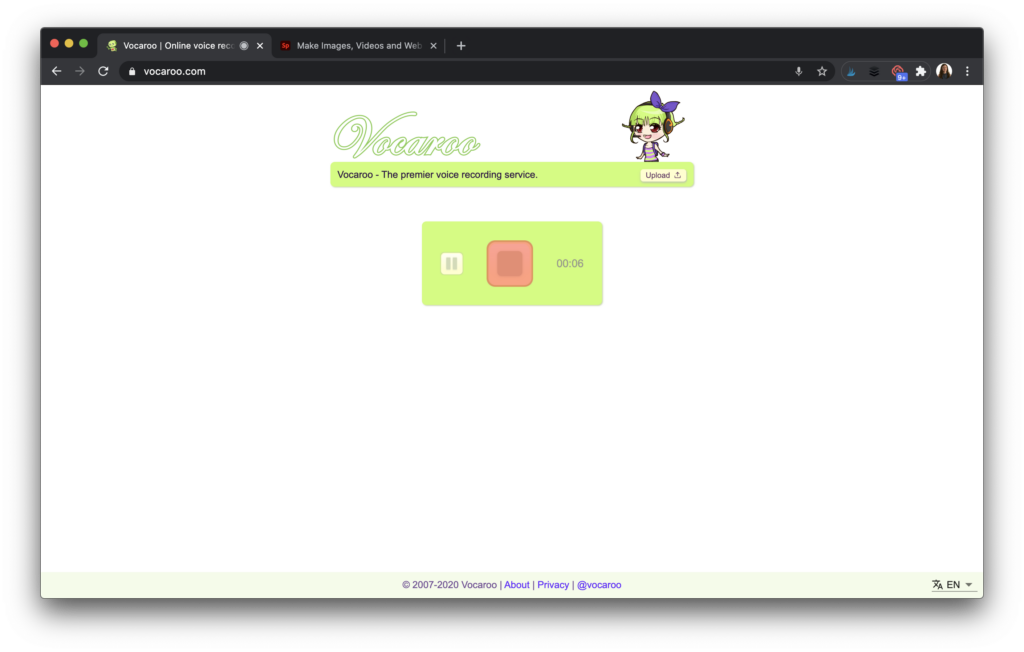
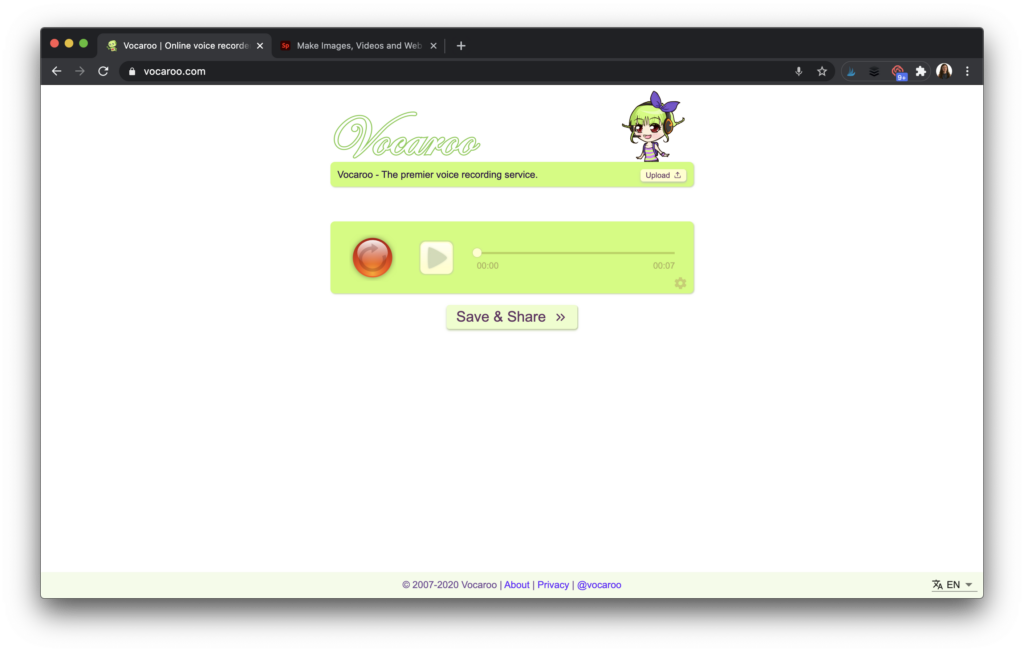
When you’re finished recording, press the stop button and press the button that says “Save & Share.”
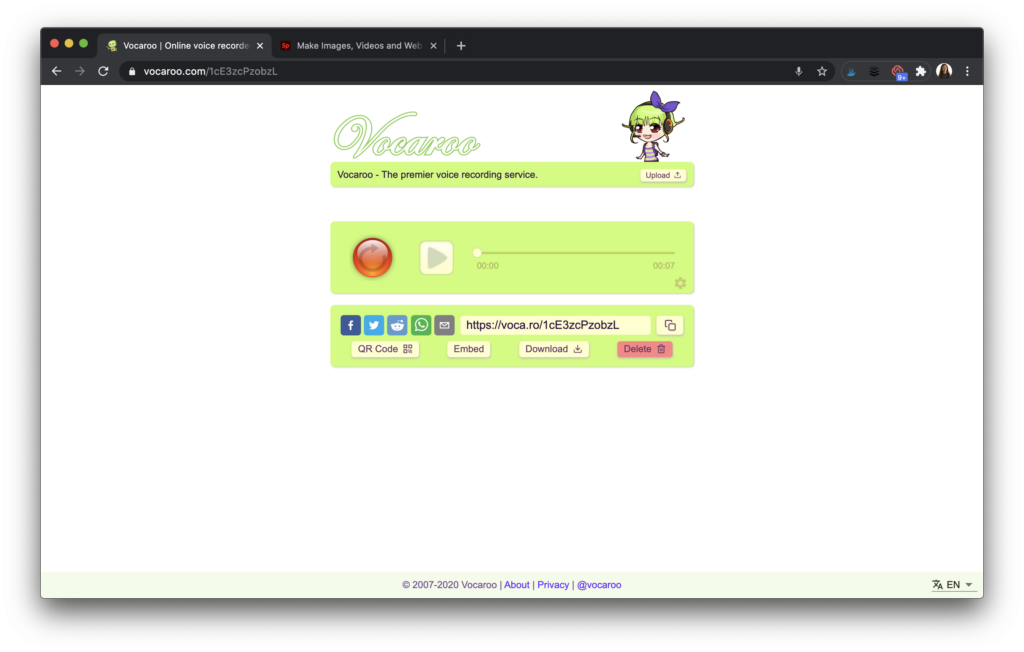
You’ll see an option to share the audio recording as a link. This is the link you will copy and paste into your website.
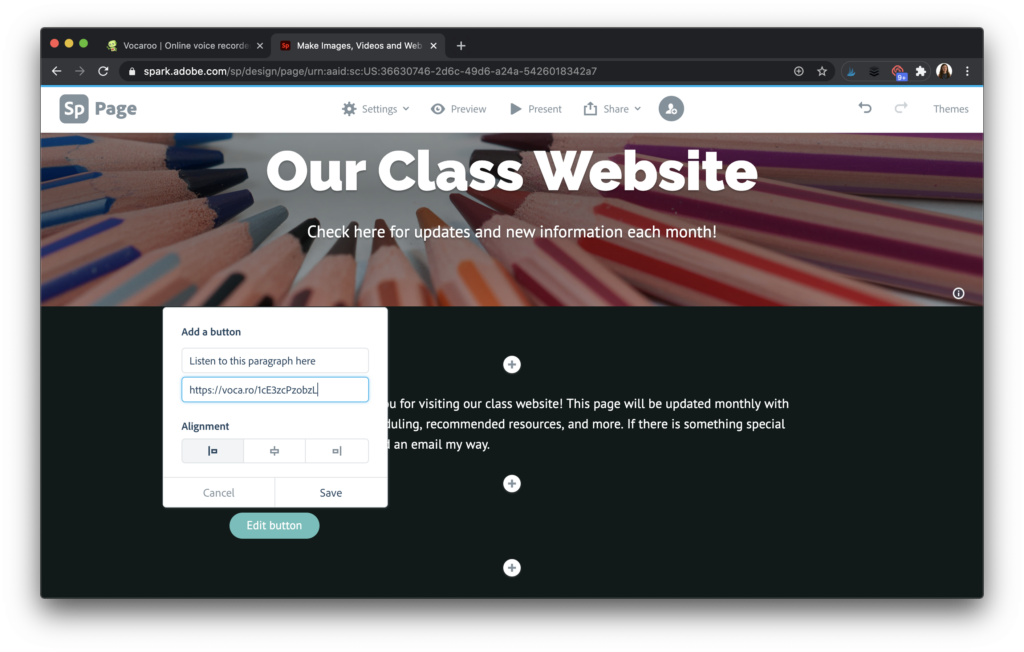
Now it’s time to head back over to your Spark Page and add the voice recording. You have two options to add this link to your page. The first is to highlight words in your paragraph and then add the link to the text.

The other option (my preference) is to use the button option. When you click on the button option, it will prompt you to add the link and a label for the link. I like to include an action like “click here” or “listen here.”
Tip: Instead of using Vocaroo, you could record your voice with another app and save it to your Google Drive or Dropbox. Then you can add a link to the shared file instead of adding the Vocaroo link.
Sharing Your Website
Once you finish building your website and adding audio as desired on the page, you can press the Share button at the top of the screen. This option will let you publish your website, post it in Google Classroom or Microsoft Teams, or share the link with students and families.
You may want to remind students and families of the audio option, especially if you decide to record your voice in a different language. The idea of publishing a website this way may be new for your students and families, so make sure to let them know what to expect. If you’re interested in publishing in more than one language, here’s another resource to explore.
Tip: This strategy of adding audio to a website isn’t just for class websites; you can use these steps any time you’d like to include audio on your page.
I can’t wait to see what you create! If you share your class website on social media, make sure to include the hashtag #AdobeEduCreative in your posts. Use this link to get started with Adobe Spark.