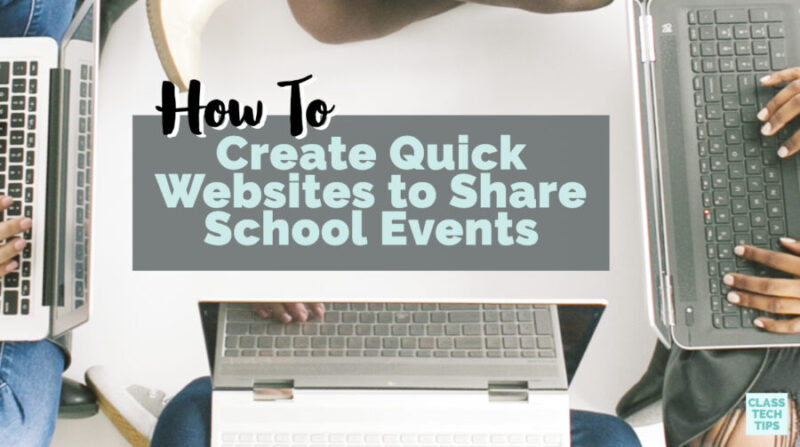
Looking to spread the word about an upcoming school event? There are lots of ways to share the news of special school events. Whether they are happening in your classroom, school, or district, you want everyone to stay informed. If you know that there are lots of details to share, you can create a website for this school event. Creating a website is an excellent way to compile information and provide resources for students, families, and community members.
Creating a website with information about an event might seem like a daunting task. And if you’re not the person who updates a school or district website, it might be hard to make sure that information for your special event is up-to-date and shared correctly. One of my go-to tools for building a quick website is Spark Page. This free, easy-to-use website builder lets you create a simple landing page you can update and share without any hassle.
Folks who’ve spent time on the blog before already know I’m a big fan of the Adobe Spark tools. Ben Forta and I wrote, 40 Ways to Inject Creativity in the Classroom with Adobe Spark, a book full of lesson ideas and activities. If you haven’t used Spark before, it’s free for K-12 schools and works on Chromebooks, iPad, and any computer’s web browser. In this blog post, we’ll take a look at Spark Page, the website building tool from Spark.
- Note: For a quick tutorial of the Spark tools, visit this page.
- Extra: Download my free Spark Video graphic organizers using this link.
Sharing School Events
When it is time to share a special event, you’ll want to make sure you have a space with all of the details. In the screenshots below, I’ll share steps for creating a quick website using the example of a family literacy night. Of course, you’ll want to make this idea your own. You might decide to create a website that shares an event like:
- Back-to-School Night
- Blood Drive
- School Board Meeting
- Holiday Concert
- Science Fair
The important thing to consider when sharing school events is what information you want to tell the community and what you’d like them to do with that information. These details might include: time of an event, location an event is taking place, deadlines, RSVP details, or expectations for participants.
How to Create a Website
Determining the details you want to share about your special event might be the hardest part… because it only takes a couple of steps in Spark Page to create your event website. I’ll take you through the steps below, but remember, there is no “right” way to do this. You can move around the items on your Spark Page, so they are in the order you like — it’s totally up to you!
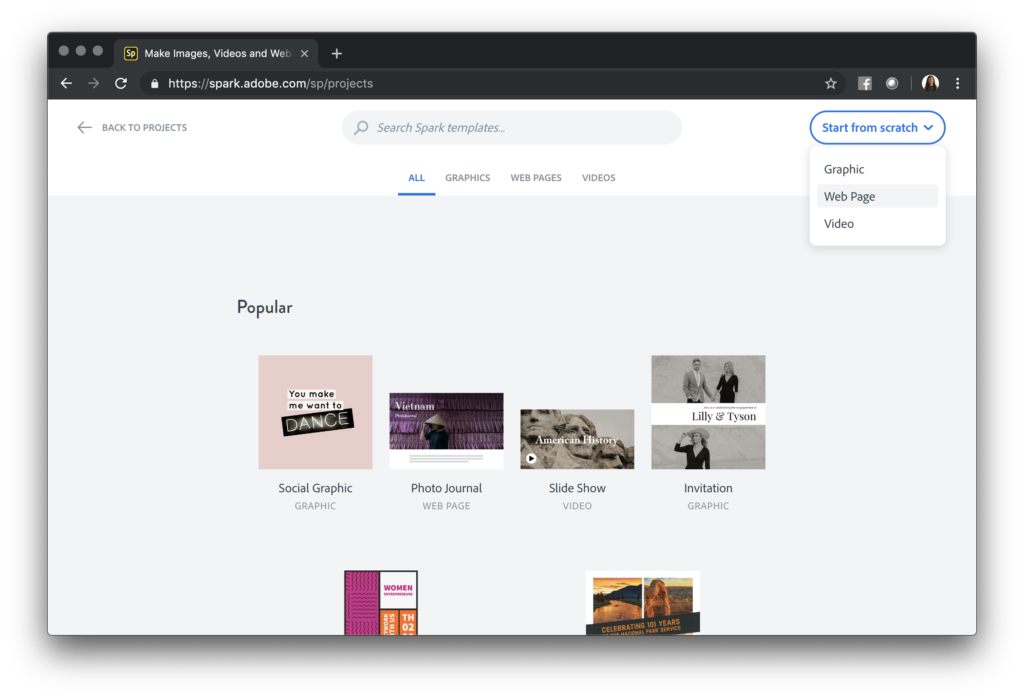
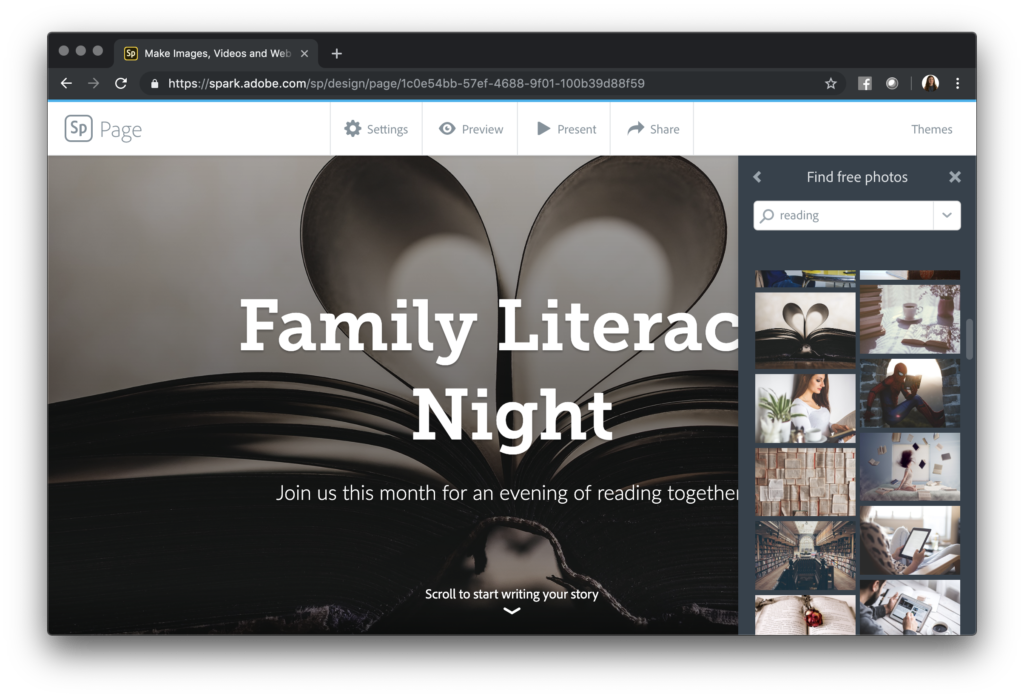
First, open up Spark Page and choose web page from the start from scratch dropdown menu. Then Spark Page will prompt you to add a title, subtitle, and image for the header of the page. As you can see in the image below, I used the search feature to find a photo to add to the background. I could have uploaded one from my computer or from Google Drive, but instead, I searched for a photo using the keyword reading.
Adding Event Details
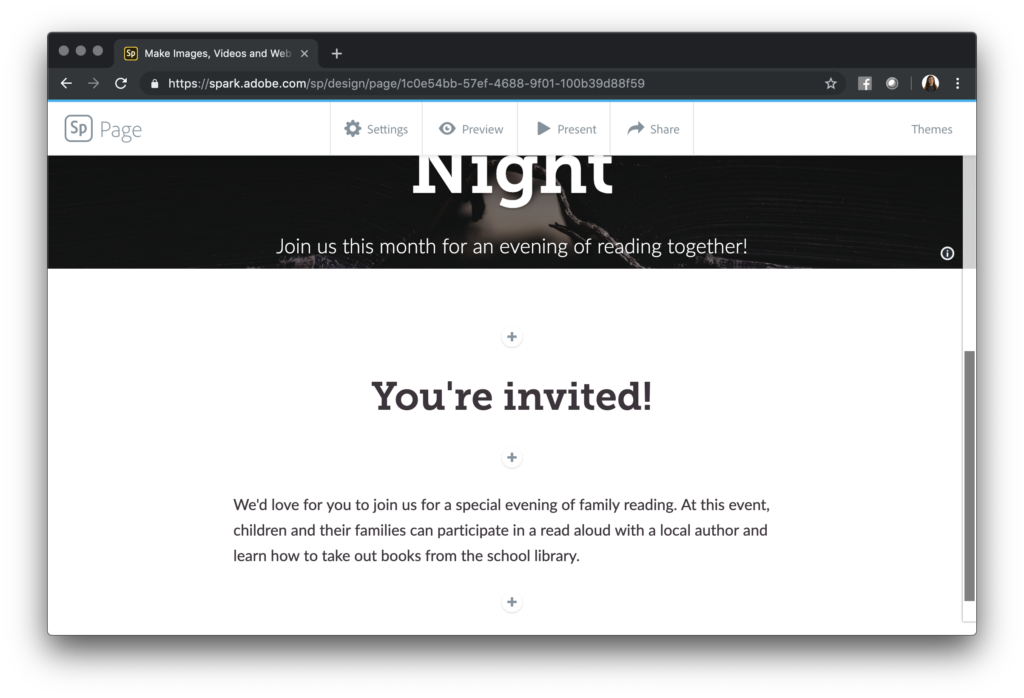
Once your header is complete, you can scroll down and start adding to your website. Every time you see the plus sign button, you’re prompted to add something to your page. I’m going to start with the text feature. This option allows me to add a heading and then more details below.
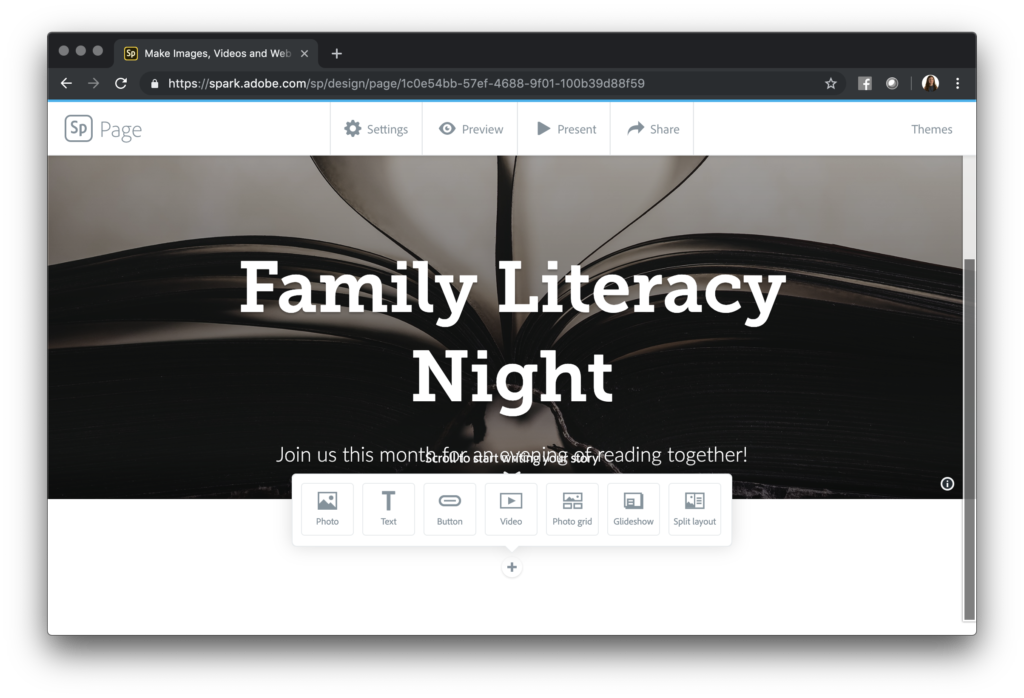
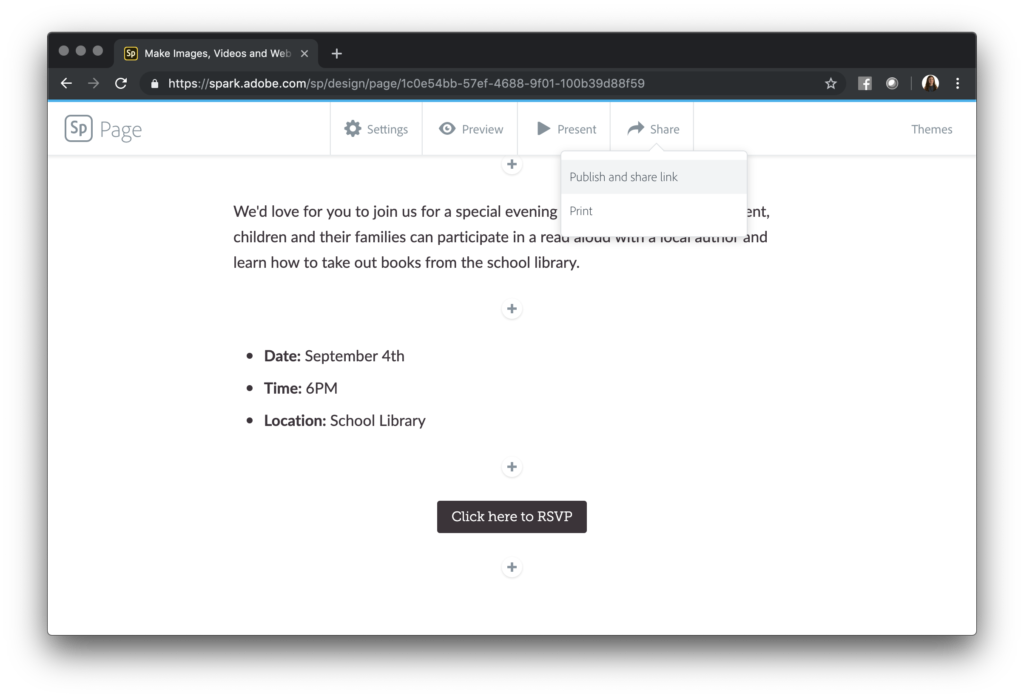
After you’ve added details about your event, you can add any additional images you like to your page. This could include a bulleted list with the time, date and location of the event. Or you might add a few paragraphs with an overview of what to expect on this day.
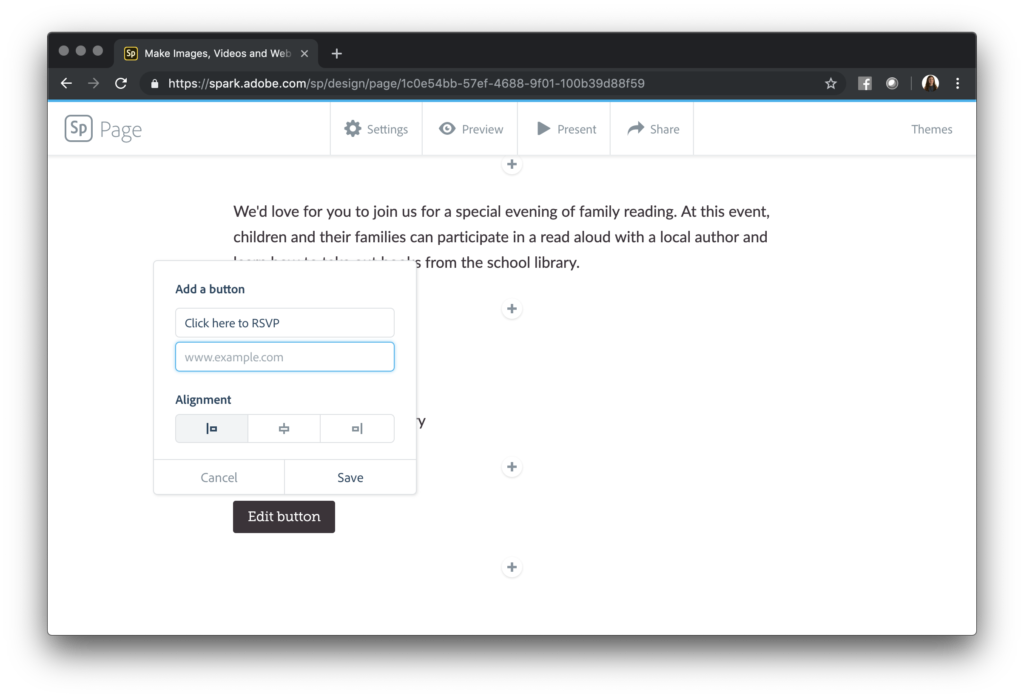
There is also the option to add a button to your website. If you are linking out to other information, like a Google Form for RSVPs, using a button is a great option. All you have to do is add the text you’d like to see on the button and the link the button will go to when someone clicks on it.
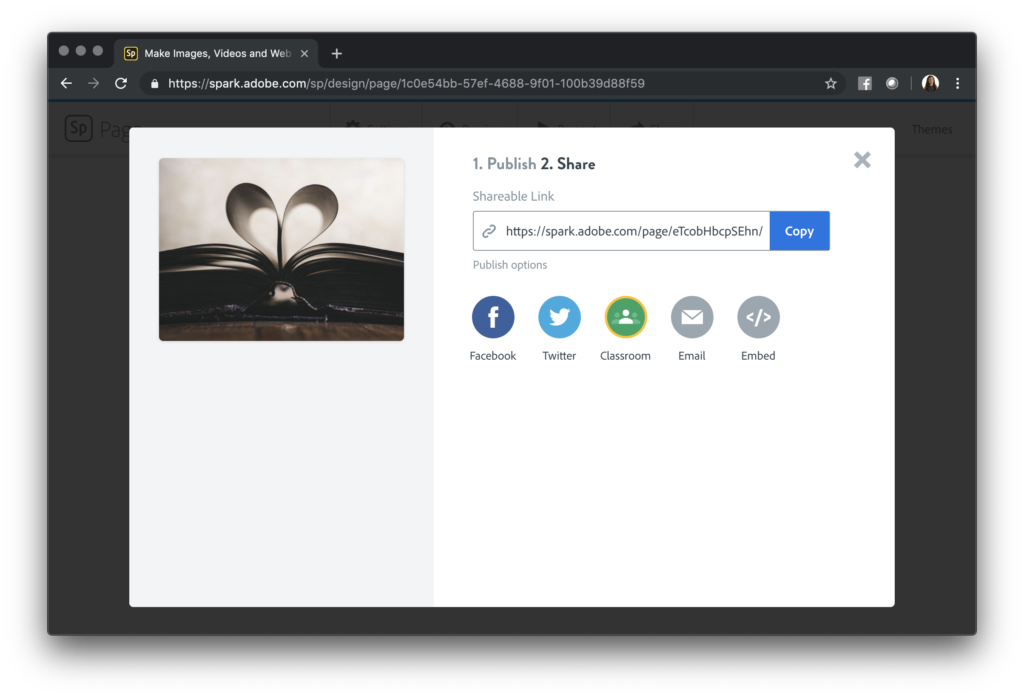
When your special event website is complete, click on the share button at the top of the screen. This button will give you options for adding a new title or adding any additional credits to your website. It’s also where you’ll get the link for the site you’ve created.
Sharing Your Website
The shareable link to your page is just that, totally shareable. You can decide how to get in the hands of students, families, and community members. You might choose to share the link your school’s social media pages, send out the link in an email newsletter, or include it in text message reminders.
If you start to make lots of websites for special events using Spark Page, you may want to check out their branding features. These branding features make it easy to add your school colors and logo to every page you create. Having this type of branding set up will add authority to your creations and make sure it’s recognizable to your school community.
Ready to get started? Head over to Adobe Spark’s website and follow the steps above. Remember, to make this creation your own. Add all of the details to your events, any pictures you like, and include links/buttons for any call to actions. Share your creations in the comments of this post or tag me on social media if you share them there too!