What is a video journal? In the context of today’s blog post, I’m using the term video journals to describe a space where students use video, audio, images, and music to create a journal entry you can watch and listen to. You can use video journals as a weekly way for students to respond to a prompt, reflect, or set a goal. Let’s jump in!
If you’ve attended a webinar or stopped by the blog before, you know I’m a big fan of the Adobe Spark tools. Ben Forta and I even wrote a book titled 40 Ways to Inject Creativity into Your Classroom with Adobe Spark. Today’s blog post takes you through the steps to create video journals with your students using Spark Video. It’s a free tool you can use with students of all ages. This link takes you to the Spark for Education landing page with all of the details.
Using Video Journals
What makes a video journal different? When comparing a traditional journal entry (pen and paper) to a video journal, there are a few “value adds” to consider. First, students can use their voices to share their thoughts as opposed to writing a response. They might write a response to use as a script or jot down a few big ideas they want to mention. For students who struggle as writers or find it easier to talk about their learning, this is a big plus.
With a video journal, students can also consider how they are sharing their thoughts along with visuals and music. They can choose icons and images for their video, as well as the music they want to feature. They might include a combination of: video clips where they talk to the camera, pictures that illustrate a concept, or narration over a series of images.
Download my free Spark Video graphic organizers >>>
Making Video Journals with Adobe Spark
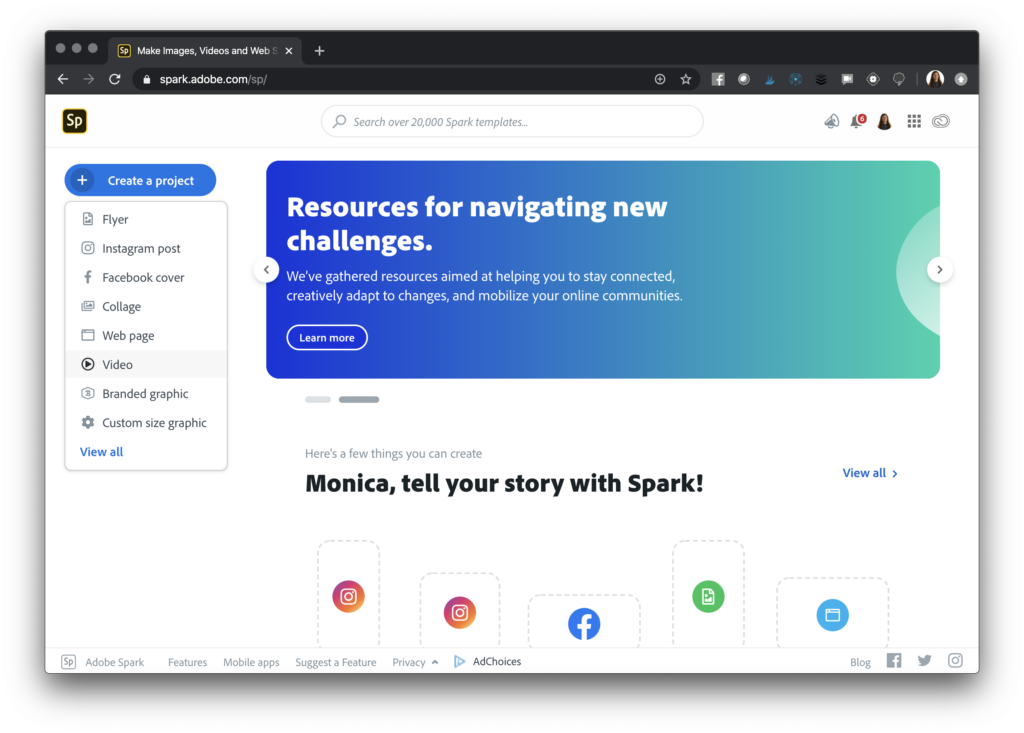
If you’d like students to create a short video journal each week, Spark Video makes it easy for them to combine media. The steps I take you through below use Spark Video on the web (with my Chrome browser), but there is also an iOS app for iPad and iPhone. First, have students open up Spark and choose Video from the project options.
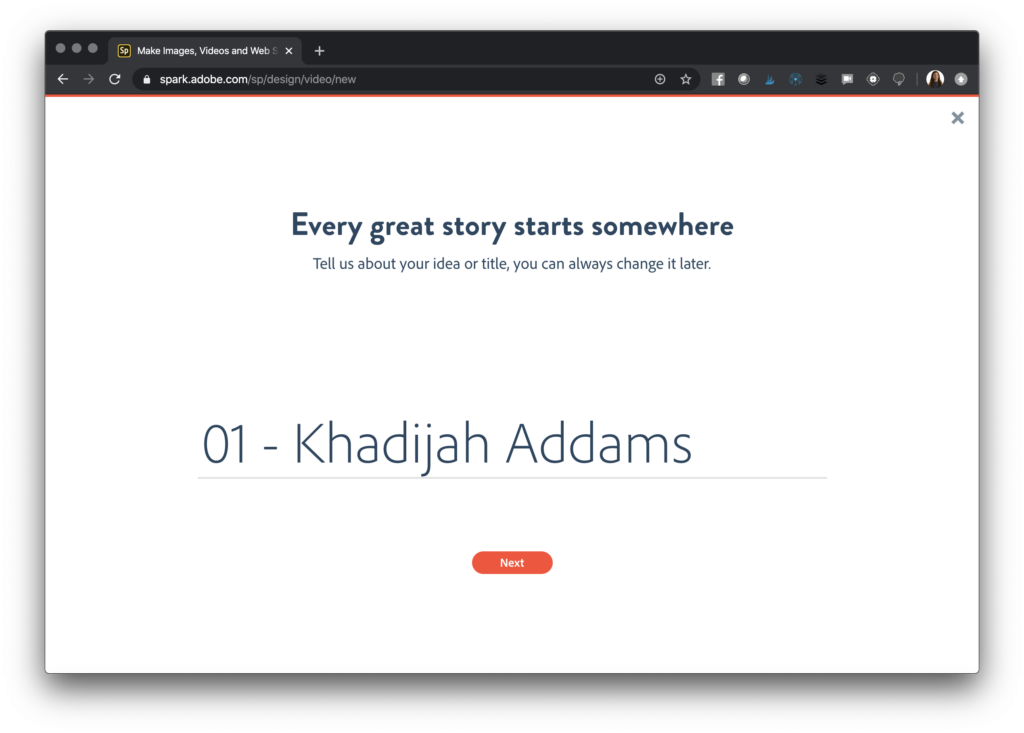
Then, have students add a title. You may want them to follow a specific format using their name and date. For example, if this is the first week of the semester, you might have students title it: 01 – First and Last Name, like you, see in the example below. Then, they can choose the Start from Scratch option on the next screen.
Setting Up Slides in Spark Video
Students can then create slides with different types of media. Here is a rundown of the four options and how you might use them in a video journal:
- Video: Students can upload a video they have recorded and saved on their device. For example, they might use Quicktime on their computer or the camera app on their phone to record a short video where they talk into the camera.
- Text: Students might add captions to an image or add text to the screen and then use the orange button to record their voice as they add narration.
- Photo: Students might snap a picture of their work, upload a screenshot, or search for a photo that represents one of their accomplishments from the week.
- Icon: Similar to the photo option, students can search for an icon that acts as a visual representation of something they want to talk about in their video journal.

Students do not need to include all four of these elements in their journal. They might be uncomfortable with adding a video recording of themselves and prefer to record their voice as images and icons appear on each slide. This type of product is an excellent opportunity to give students flexibility in how they want to express themselves.
Best Practices for Video Journals
Here are a few best practices for video journaling. If you have more tips, share them in the comments below!
Share an example: An exemplar can help students envision what their journal will look like when it’s finished. It doesn’t have to be an exact model for them to copy, but a way for them to get an idea of where they’re headed and understand your expectations.
Provide a prompt: Give students some direction with a weekly prompt. This prompt could include a specific thing you’d like them to reflect on or a sentence starter for students.

Keep it short: Encourage students to focus on the most critical details and set a time limit for their videos. These constraints will make sure students prioritize the key points and make sure their message is concise and focused.
Make a plan: A video journal doesn’t have to have a storyboard or something you might see in a more robust product. However, planning pages may come in handy, and you can try out these free ones I created.
Sharing Video Journals
The steps above showed how students could create a video journal using Adobe Spark. If they make weekly videos and want to collect them all in one place, consider having students organize them in a Spark Page.
Students can update Spark Pages each time they add something new. So if students add a new video each week, they can place it in the Page and update it for others to view.
What I love about Adobe Spark is that it is an open-ended creation tool, so there isn’t just one way to use it. I hope you’ll share ideas with students but give them the flexibility to be creative with their creations!
Download my free Spark Video graphic organizers >>>