Video is a powerful medium. Students can talk about their learning, capture moments, and share their ideas with the world! Ready to take a new spin on your typical science projects? I can’t wait to share some science project ideas with you that are customizable for any age group!
In addition to speaking at conferences and special events, part of my professional development work includes spending time with teachers and students in classrooms. I recently had the chance to work with a group of enthusiastic fifth graders as they used Adobe Spark to share their research about severe storms. No matter what topic you’re teaching this week, month, or school year, there are lots of ways to use these open-ended creation tools!
Today we’ll talk about using video with students in the science classroom. They can record their predictions before learning about a new topic or taking part in a science experiment. Students can create slideshows that sum up their learning and synthesize information. Regardless of the subject they explore, students can combine their voice with images and icons to share their learning with the world!
Video in Science Projects
In this blog post, I’ll take you through my favorite strategies for using video as part of a science project. In the examples below, you’ll see how you can accomplish these goals using Adobe Spark. I love the Spark tools, and Ben Forta and I even wrote a book about ways to promote creativity in the classroom with Spark. You can learn more about 40 Ways to Inject Creativity into Your Classroom with Adobe Spark on this page. The screenshots below come from Spark on Chrome, but you can also use Spark Video on an iOS device.
Download these graphic organizers to help you get started with these project ideas!
Recording Predictions
Regular readers of the blog (sign up here) know that I love sharing Adobe Spark combos. I’ve shared one way to use Flipgrid in the past, but here is another tip related to science projects. Instead of having your students film their reflections using the camera option on their device, they can do this as part of a Flipgrid response.
So if students regularly use Flipgrid to give project updates, they can download that video file and add it to their Spark Video project. As you can see in the screenshot below, you can insert a video file saved to your device into Spark. Note: If you don’t see video as an option, switch to a different layout.
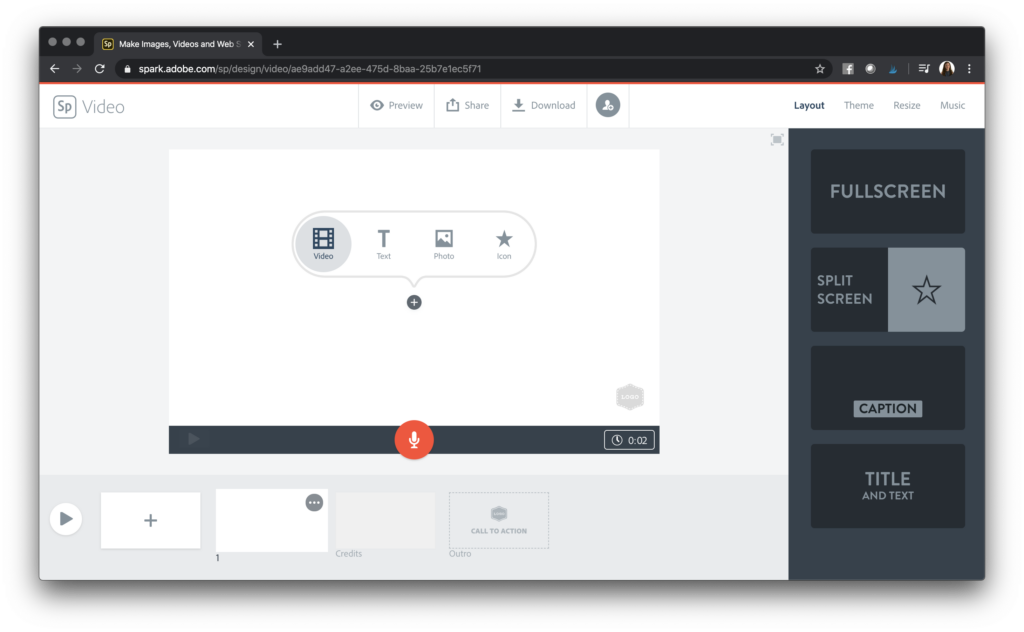
Students can add a recording they initially made in Flipgrid to Spark. Your students can then combine their prediction video with a summary of the outcome. You might try this option when taking part in science experiments or conducting research in the science classroom. Although the content would look different in elementary, middle, and high school classes, you can use the same strategy to have students record predictions.
Creating a Slideshow
I love slideshows! Slideshows give students an opportunity to combine visuals and voice to document their learning. In the science classroom, a slideshow offers students lots of flexibility when it comes to how students share their new knowledge.
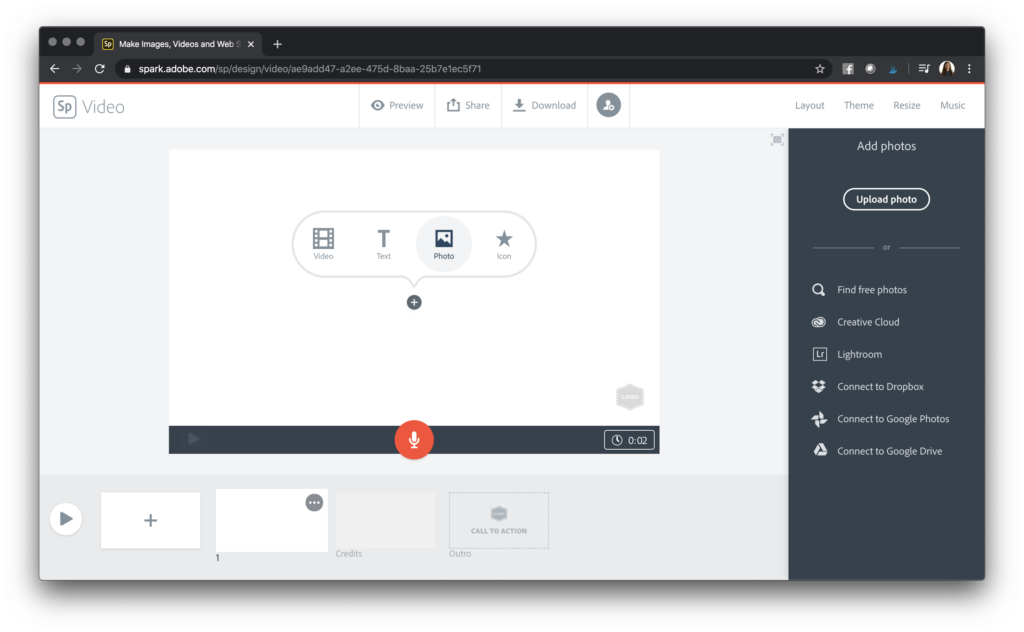
With Spark Video, you might have students create a slideshow with pictures they’ve snapped themselves. As you can see in the screenshot below, students can add photos saved on their computer, tablet, Dropbox, or Drive. Then they can use the orange button to record their voice and talk about what is happening in each picture.
Tip: If students have snapped pictures they’d like to use on an iPad, they can add multiple photos to their slideshow at once using the Spark Video iOS app.
Science Project Tips
When might your students create a slideshow? A slideshow is an excellent choice for students who want to share facts, retell an event, or create a tutorial. Here are a few examples:
- introduction to lab safety
- facts about weather
- Results from a science experiment
- Biography of a scientist
I love how Spark includes the option to search for images and icons right from within the platform. Students can find pictures from Unsplash, a favorite website I mentioned in this recent podcast episode on how to make photo collections for students.
As I mentioned with the Flipgrid combo, Spark Video lets you add video files to your project. When you’re in Spark Video on iOS or the web, you’ll have the option to add a video to your slide. Tap on the plus + sign, and you’ll see video as an option, just like adding text or an image to your page.
When it comes to using videos for science projects, the possibilities are endless. I’ve created these graphic organizers for you to help you get started with whatever project you dream up for your students!
Learn more about Spark for Education by heading to this special landing page!