The end of the school year is a special time full of reflections, memorable events, and plenty of to-do items to take care of before the year comes to a close. As a classroom teacher, this time of year was always full of things to check off my list while in the midst of celebrations. From practicing songs for moving up ceremonies, to a couple of years of ballroom dancing recitals, May and June were often a whirlwind. (Side note, I didn’t teach at the school featured in this movie but my students participated in similar programming for several years and it was amazing.)
As you wrap up the school year or prepare for the last few weeks of school, take a moment to look back on all of the wonderful things that happened this year. Whether you scroll through a phone or iPad full of field trip pictures or sort through a pile of student projects, you can find plenty of student work and accomplishments to celebrate with Spark Video.
How to Use Spark Video
Regular readers of the blog know that I love the Spark tools. Ben Forta and I even wrote a book about it, titled 40 Ways to Inject Creativity in the Classroom with Adobe Spark. So in this blog post, I want to take you step-by-step through one way to use Spark Video for end-of-year celebrations. And at the bottom of the blog post, I’ll include a link to free graphic organizers you can use with Spark Video as well as a few additional end-of-year celebration ideas.
Celebration Videos
At the end of the school year, there is a lot to celebrate! If your school year has been full of dozens of special events or just a few you’d like to highlight, you and your students can create a Spark Video to showcase these special moments. Imagine you’ve gone on a handful of field trips this year. Whether you snapped pictures at every stop or returned back to school with an empty camera roll, you can create a Spark Video to celebrate these moments.
Now as a New York City teacher I was fortunate to have easy access to lots of field trips. Whether we walked to Central Park or took the train to a Broadway show, each year was full of excursions. In these steps, we’ll start with a handful of small moments and transform them into a shareable Spark Video. You might take on the task of creating a video, or you might have students work independently or collaboratively to create a Spark Video.
How to Use Spark Video
Before opening up, Spark Video think of a few moments to spotlight. You might list out a few places you went on field trips, jot down the names of guest speakers that came to your school or write down the names of places you went on a virtual field trip!
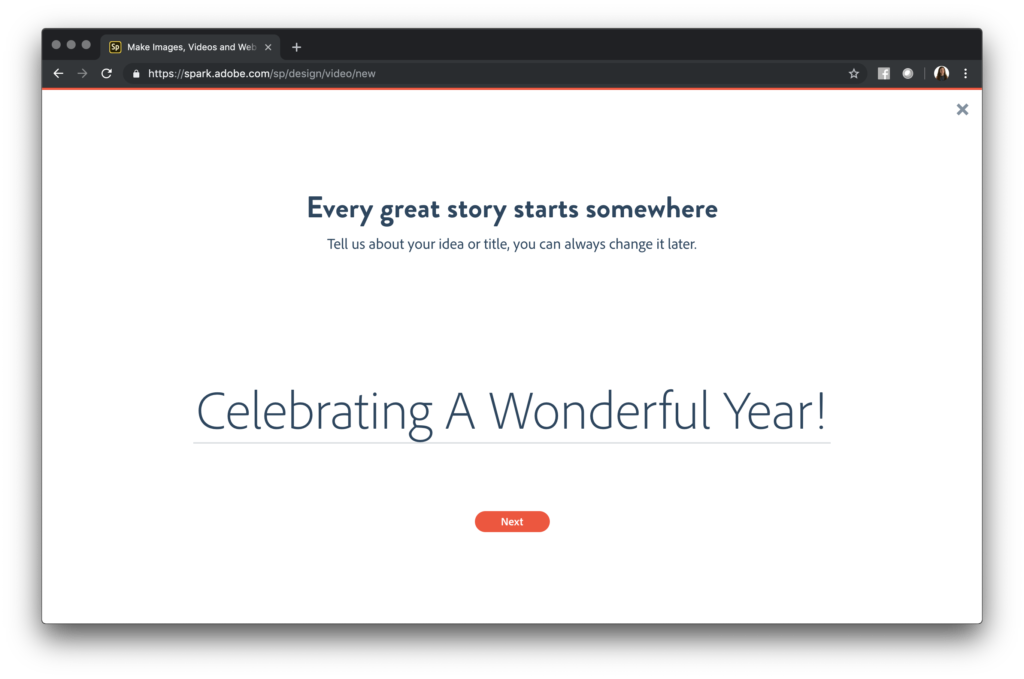
Then open up Spark Video to create a new project. You’ll see a prompt for a project title like in the picture below. You have the option to skip this step or change the title of your movie later on before publishing.
When you jump into your project, you’ll have the option to add different types of media to your slides. This media can include a combination of video, text, images, and icons. For this project, I’ve focused on adding text and pictures, but it’s totally up to you. As you can see in the image below, I added a title to the first slide of my Spark Video. Then I moved on to the next slide. On this slide, I can add images of all of the places I want to spotlight.
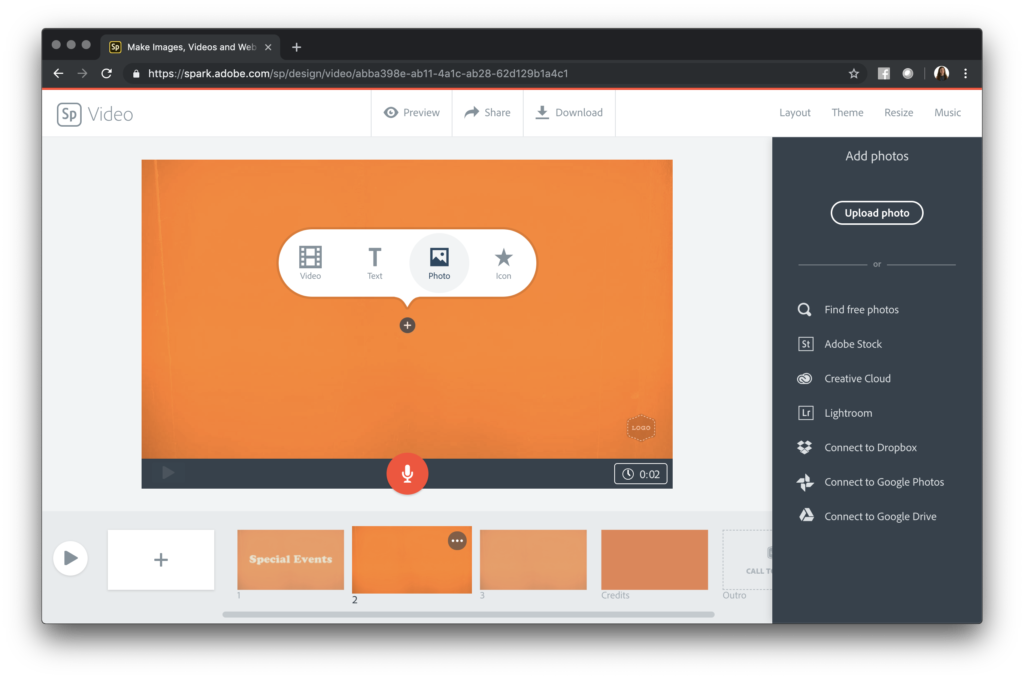
Using the plus sign in the middle of the screen, I can add images to each slide. When I choose the image option, there are a few ways I can find and add pictures to my slide. The top two options are the ones I use most frequently. You can either upload your own photo (perfect if you snapped a lot of pictures on a field trip) or search for free images.
Searching for Images
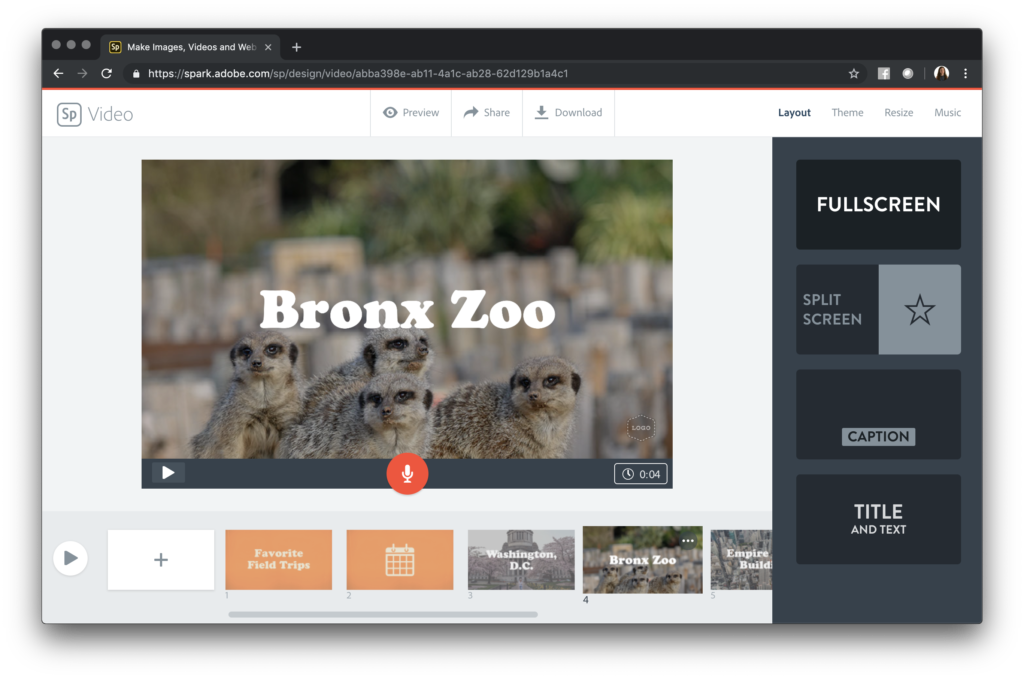
The search for photos feature might seem strange at first, but this is a great option to have in your back pocket. If you forgot to take pictures during an event, or your favorite shot was a little blurry, you can search for photos to add instead. Spark Video automatically adds credits for any images you use to the last slide of your video.
When it comes to designing your movie, there are a few options to choose from as you organize your media. I added the name of the place on top of the image and decided not to record my voice. You can have students record their voice for each image and take turns telling something memorable about their trip — it’s totally up to you. You can even have students record their own music too!
Before tapping on the Share or Download button at the top of the screen, you can change the theme and add music. If you are working with students to create these videos, this is an excellent opportunity to talk about ways that colors and music communicate tone and mood to an audience.
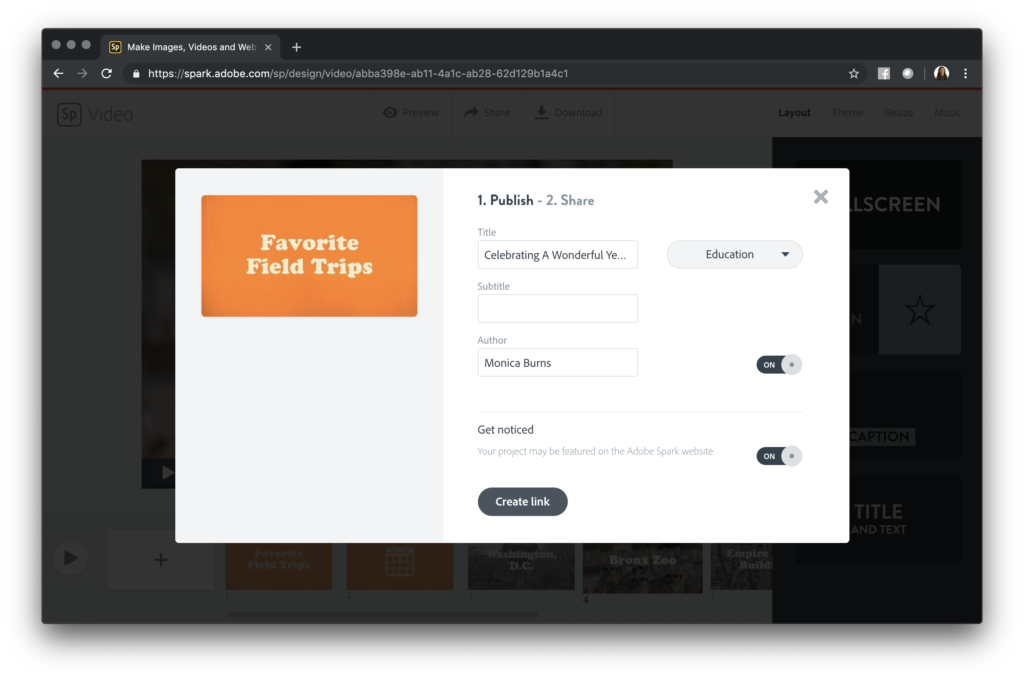
Since Spark Video lets users publish their video and a link or a downloadable MP4 file, you have a few options for sharing. A link is great to use if you want to share the video you make in an email newsletter or on social media. Just make sure you have permission to use any student images or voice recordings if you decide to share this way.
More Video Activities
In addition to sharing special moments from field trips, you might want to try one of these end-of-year celebrations:
- Have students reflect on their one-word goal for the year
- Ask students to celebrate three things they felt they accomplished this year
- Have students chronicle one thing they’ll remember most about the school year
- Ask students to share one piece of advice for incoming students
I can’t wait to see what you create with Spark Video to help celebrate the end of the school year! Download my free graphic organizers on this page, or head straight to Adobe Spark’s website to get started!
