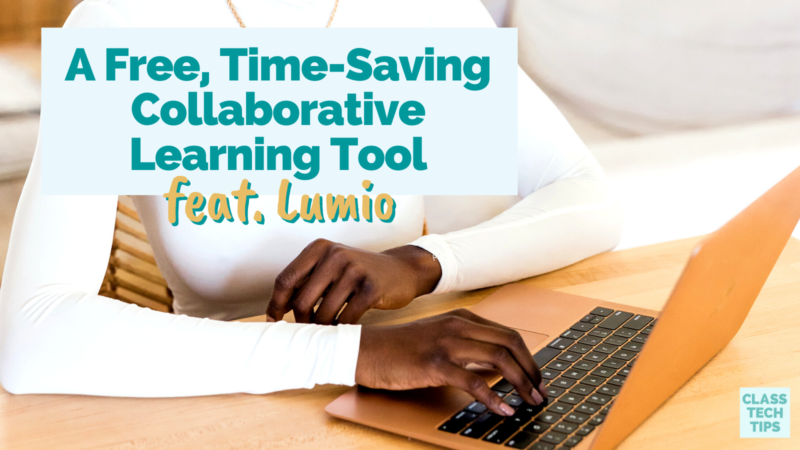
If you’re looking for a way to easily create and deliver interactive and engaging lessons that work with any student devices, the folks at Lumio have you covered. Whether you transform a slide deck you already have, use one of their pre-made templates and activities, or start entirely from scratch, this tool will come in handy. Lumio can help you create engaging lessons for every grade level in any subject area.
Lumio is from the folks at SMART, but you don’t need a SMART Board® to use this collaborative learning tool. I’ve launched lessons remotely using Lumio without needing any extra equipment – just my laptop to control the lesson. Students can log into the lesson using any personal device connected to the Internet, including a computer, Chromebook, tablet, or smartphone.
In today’s blog post, I’ll tell you all about Lumio and how you can save time creating interactive lessons this school year!
Tool for Collaborative Learning
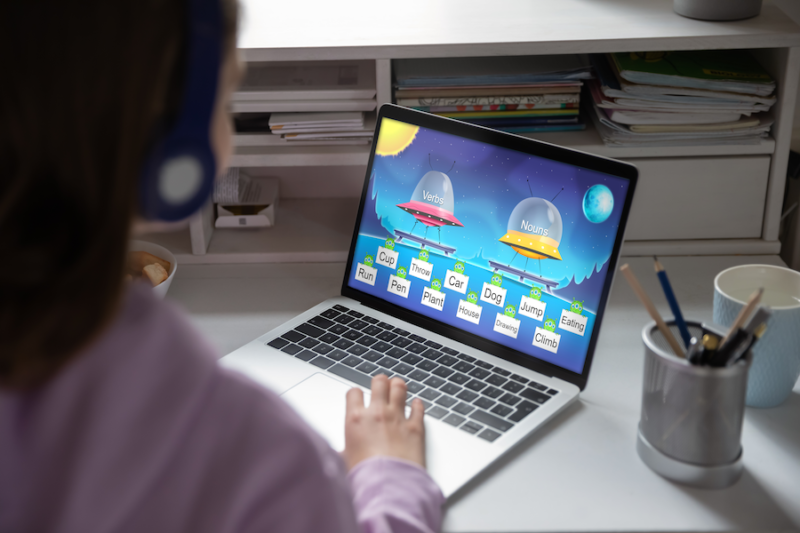
What is Lumio? Lumio is a collaborative learning tool for K-12 classrooms. You can quickly turn your PDFs, Google Slides, PowerPoint decks, and SMART Notebook® files into engaging lessons with just a few clicks. It’s up to you to decide how your lesson will flow.
You have the power to combine interactive activities and games alongside content using your own resources and the templates built into Lumio. There are also plenty of formative assessment options to check for understanding before, during, and after a lesson.
Collaborative Lessons
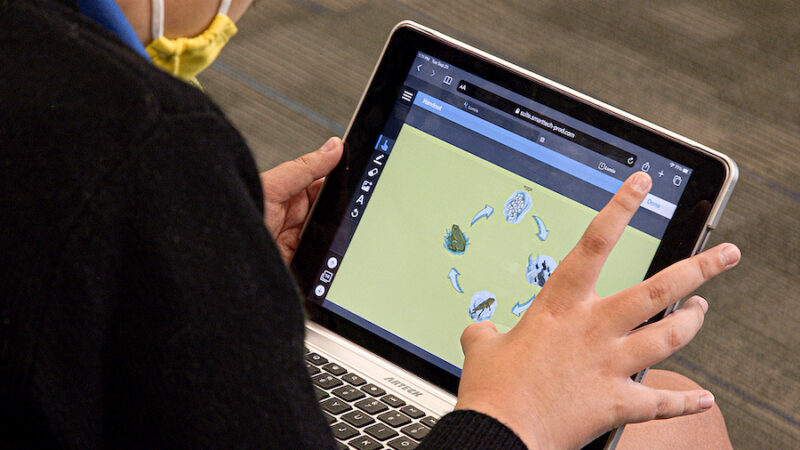
One thing I love about Lumio — that is certainly a stand-out feature — is the ability to create small group workspaces. With a click of a button, you can separate learners into groups so they can have their own collaborative workspace to brainstorm and share ideas in the middle of your lesson. So many conversations I’ve had with educators this school year have focused on the need to build these types of collaborative skills.
Launching collaborative workspaces in Lumio is as simple as a few taps on your screen. Without disrupting lesson delivery, you can quickly put students into randomized groups. You also have the power to adjust student groupings as needed in case you’d like to pair specific students together. This option provides flexible grouping throughout the lesson, from whole-group to small-group to independent practice. I love how teachers have the ability to contribute and add feedback to a group or individual as they are working.

Do you need a SMARTBoard to use Lumio?
No, you don’t need a SMART Board or any interactive display to use Lumio. Of course, you might want to show off a lesson on the big screen in your classroom. But you don’t need it to make Lumio work effectively. Instead, you launch the lesson straight from your teacher device, and students log in with a code on their device to participate.
Students can participate in a Lumio lesson at home, in the classroom, or anywhere they have access to a device. It’s a very flexible tool for interactive lessons. Regular readers might remember how I featured SMART Learning Suite on the blog earlier this year. If you tried out SMART Learning Suite, then all of your lessons will automatically turn into Lumio lessons — just log in and check it out.
Interactive Google Slides and Engaging PowerPoint Presentations
If you’re used to leading lessons with slide decks made in PowerPoint or Google Slides, then Lumio is a perfect fit for your routine. Instead of consuming content like watching a presentation with a slide deck, students actively use their devices. They explore, create, collaborate, question, and reflect throughout the lesson. Lumio makes it easy to add discussion questions and activities in between the content on your traditional slides. You can also combine PDFs and SMART Notebook files to create lessons too.
How do you make an interactive presentation?
You can upload a slide deck you already have or use the lesson templates to start from scratch. Then you can add activities from their library, including games and access to digital manipulatives. These activities can also check for understanding. They give you a quick read of the room in the middle of a lesson.
Students can show off what they’ve learned using a few different features inside Lumio. These options include individual handouts for students to share their thinking, polls to give feedback, games you can customize, collaborative workspaces for brainstorming, and more. Teachers can review student work in real-time and give feedback as needed.
Ready to start using Lumio? Use this link to set up your free account and transform your lessons. Don’t forget to check out the content library and ready-to-use templates in this powerful tool for interactive lessons.