I love a strong slide deck! As a classroom teacher I often used a PowerPoint to share new information with my fifth grade students. Sometimes it was a set of primary source documents for a new social studies unit and other times it was to share a collection of images related to new vocabulary words.
At the time, PowerPoint was my go to tool of choice and pretty much the only option to choose from. I remember stumbling upon Nearpod in the Apple App Store when we first started using iPads in my classroom, and I couldn’t believe that I could push out my PowerPoint decks to student devices and swipe from slide to slide. That was over a decade ago, and it’s wild to think about the options you have today to create a slide deck to share with students.
Today on the blog, I’m going to take you step-by-step through one of my favorite ways to get a head start making a fresh slide deck. We’ll take a look at how to create slides with Gemini, one of my favorite strategies to share with educators.
Getting Help to Create a Slide Deck
If you’ve ever spent an entire afternoon building a slide deck from scratch, you know it can certainly be a time-consuming task. You have a great idea for a lesson, a study guide, or an interactive activity, but turning that idea into a polished set of slides can take a lot of time. That’s true even if you are working with a template.
This winter, I’ve traveled from New York to California to host in-person workshops (with plenty of webinars in between). And I’m writing this post en route to Oregon for an in-person workshop to wrap up monthly virtual sessions I’ve hosted for a group of educators this year.
I love sharing strategies for using EdTech to help save teachers time. This year, sharing the steps for how to create slides with Gemini has become a favorite strategy to show to groups of educators!
Teachers are amazed at how quickly they can go from an idea to a draft slide deck using the Canvas feature inside of Gemini. Many of the schools I work with are already using Gemini, so it’s always fun to share a feature that integrates so seamlessly with other Google tools. Whether your school uses Google Workspace or you’re exploring Gemini on your own, let’s take a look at how to create slides with Gemini from start to finish.
Why Create Slides with Gemini?
Gemini is Google’s AI chatbot that can help you brainstorm, draft, and create content. The Canvas feature takes things a step further. When you ask Gemini to create slides, it doesn’t just give you a text outline. It actually builds a visual, editable slide deck right inside the Gemini interface. You can review the slides and make changes. When you’re happy with the direction, export them directly to Google Slides.
It’s important to note that this isn’t going to give you a finished, perfect product every time. But depending on what you ask for, it can come pretty close to creating something that would take you a lot of time on your own. Think of it as a powerful starting point, a first draft that gets you 70 to 80% of the way there.
For teachers who have an idea for a presentation, a study guide, a student interactive workbook, or really anything they’d typically build in Google Slides, this can be a game changer. What about those resources you’ve always wished you had time to create? The ones that support differentiation or help students see vocabulary words in context? This might finally make them possible.
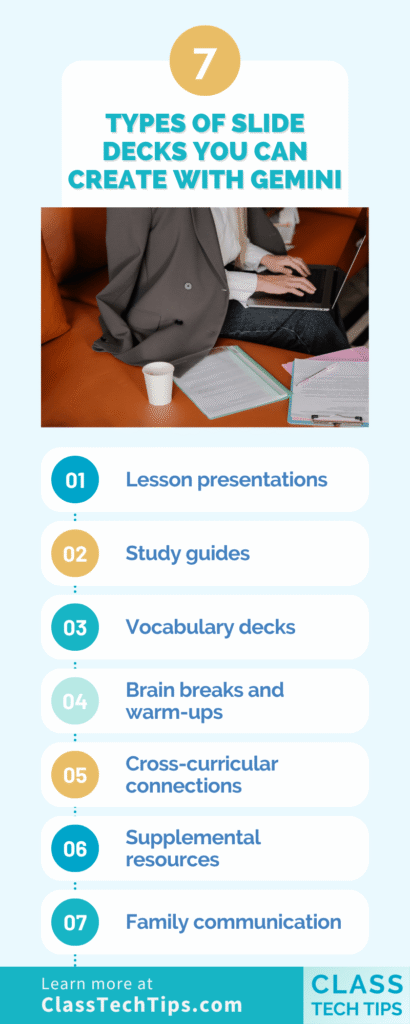
Types of Slide Decks You Can Create with Gemini
When you create slides with Gemini, you can generate a first draft in minutes instead of hours. Imagine being able to quickly generate materials that support differentiation, or supplemental resources that help students see vocabulary words in action.
Anything you would typically make with Google Slides is fair game. I’ll take you through an example below, but here are some ideas to get you started:
- Lesson presentations: Ask Gemini to create slides for a new topic, complete with key vocabulary, discussion questions, and a review slide.
- Study guides: Have it generate a visual study guide that students can flip through before an assessment.
- Vocabulary decks: Ask for slides that show vocabulary words with definitions, images, and example sentences. These are perfect for word walls or stations.
- Brain breaks and warm-ups: You can even ask Gemini to include placeholder slides for brain breaks or turn-and-talk activities.
- Cross-curricular connections: This is where it gets really fun. Try asking for a deck that makes unexpected connections across subjects.
- Supplemental resources: Need a quick review for students who were absent, or an enrichment activity for early finishers? Ask Gemini to create targeted slide sets for specific student needs.
- Family communication: Create a visual overview of an upcoming unit, a curriculum night presentation, or a back-to-school slideshow in minutes instead of hours.
A Story from My Workshops This Winter
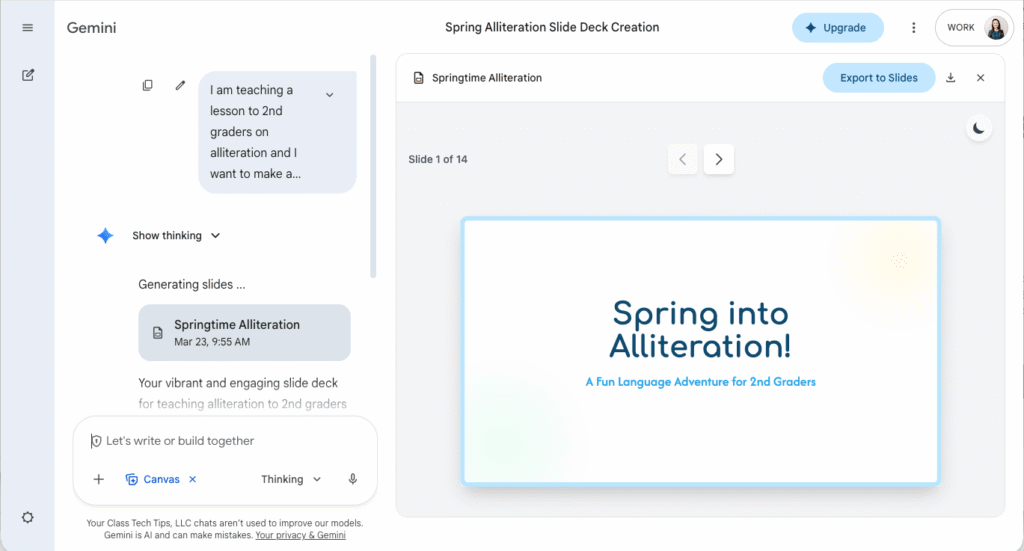
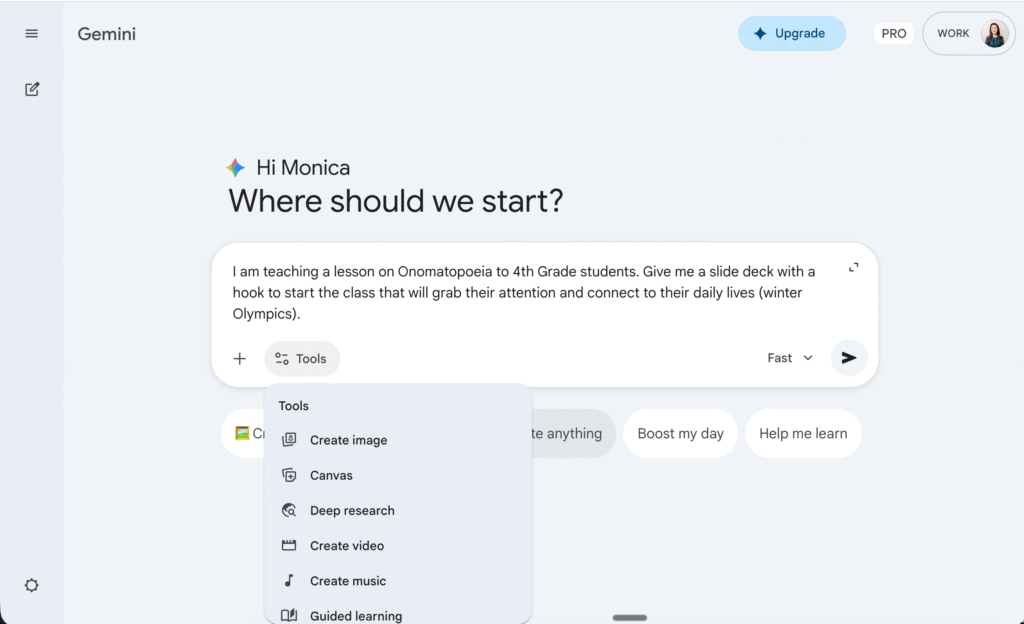
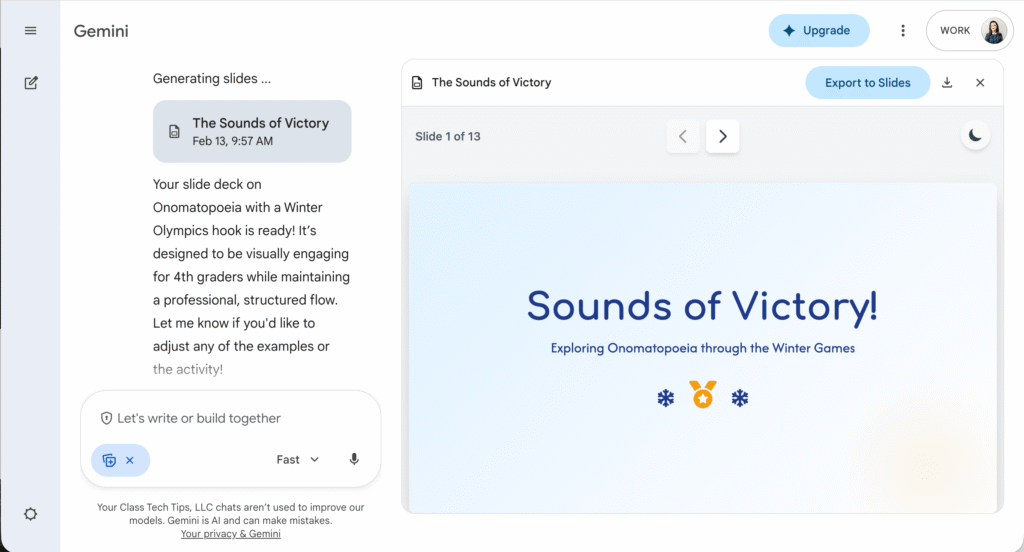
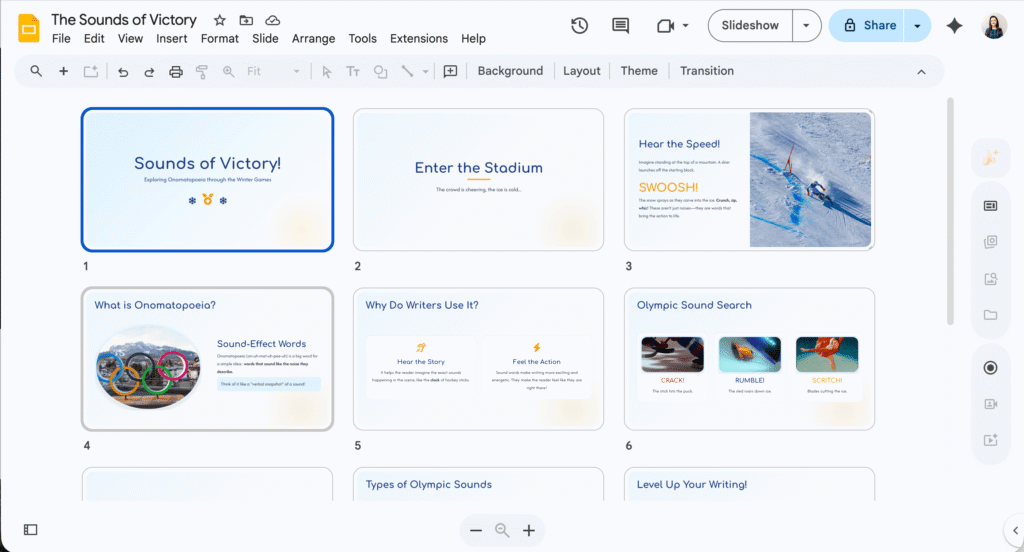
As I mentioned earlier, I love sharing this strategy with teachers. Here’s an example I’ve used when I model this for educators. I ask Gemini to create slides that make a connection between onomatopoeia and the Winter Olympics. I’ve also done one connecting spring and alliteration. The results are always lots of fun when you ask it to connect somewhat unrelated ideas.
Gemini pulls together relevant images and creates content slides that weave literary devices into sports examples. It’ll even make placeholder slides when I ask it to include brain breaks or turn-and-talk moments. You can upload reference material if you like, such as a lesson outline. You can also use the voice-to-text feature to dictate your request, which is sometimes a faster way to get started.
Step-by-Step: How to Create Slides with Gemini Canvas
Step 1: Open Gemini
Head to gemini.google.com and sign in with your Google account. If your school uses Google Workspace, you may already have access through your school account.
Step 2: Write Your Prompt
This is the most important step. Be specific about what you want. Instead of just saying “make a slide deck about fractions,” try something like: “Create a 10-slide presentation for 4th graders introducing fractions with visual examples, key vocabulary with definitions, two practice problems, and a brain break slide.” The more detail you give, the better your results.
Step 3: Choose the Canvas Option
Gemini will generate your slides only if you choose the Canvas option (see the drop down menu in the example above). It might take a few minutes to load, so you want to do this when you’re not in a big rush.
Take a few minutes to click through each slide. Look at the overall structure, the content, and the images it selected. Remember, this is your starting point, not your finished product.
Step 4: Edit and Refine
You can ask Gemini to make changes right in the chat. Try prompts like “Add a slide with vocabulary words” or “Replace the image on slide 3 with something related to winter sports.” You can also ask it to adjust the color palette, add more detail, or simplify the content.
Step 5: Export to Google Slides
When you’re happy with the direction, export your deck directly to Google Slides (the button is in the top righthand corner). From there, you can customize fonts, swap images, add your school branding, and make it truly yours. Here’s a direct link to what Gemini created for me.
Tips for Getting the Best Results When You Create Slides with Gemini
- Be specific in your prompts. Include some background information, number of slides, and types of activities you want.
- Ask for placeholders. If you want brain breaks, turn-and-talks, or exit ticket slides, just ask. Gemini will include them.
- Your first result won’t be perfect, and that’s okay. Use follow-up prompts to refine the content or “call it” and export it to Google Slides to put the final touches on it yourself.
- Think beyond presentations. This works for study guides, interactive workbooks, vocabulary activities, and anything else you’d build in Google Slides.
- Customize after export. The real magic happens when you take that draft into Google Slides and make it your own with your examples, your images, and your personal touch.
If you’ve been looking for a way to save time on slide creation without sacrificing quality, give Gemini’s canvas feature a try. It’s not about replacing your creativity. It’s about giving you a head start so you can focus your energy on the things that deserve the bulk of your time!
A few more resources
For even more ways AI can help you reclaim your time, don’t miss 3 Time-Consuming Tasks AI Can Help Teachers Tackle and 12+ Quick Ways to Streamline Lesson Planning.
And if you want to explore how AI can help with teacher feedback, that’s another area where these tools are making a real difference for busy educators.
If you’re new to all things Google and Gemini, you might want to start with my overview of AI Tools from Google Teachers Should Know About to get the bigger picture of what’s available.
Already love Google Slides? Check out my post on 18 Reasons I Love Google Slides for Teachers