Ready for a fresh start? As you kick off 2017, try one of my favorite, totally free tools for teachers — Spark Post. Last year I shared a handful of ways to use Spark Video in the classroom with lesson ideas for teachers (see them here). Spark Post is another one of their fantastic creation tools and it can help you organize your classroom library!
I recently visited a school where I shared a few tips for keeping their classroom library organized. When it comes to making labels for your classroom you can use Spark Post to update, energize and completely reorganize your classroom library. Although Spark Post is often used for social media images (like my the Pinterest-friendly graphic above) you can use it to design all types of graphics. This includes classroom library labels!
Organize Your Classroom Library
First, you have to have a vision for your classroom library. Take stock of your resources and decide on the layout of your library and how you will group these books by genre, topic or student interests. Once you’ve created your plan for each bin, box, or corner of your classroom, you can use Spark Post to create labels for each one.
New to Spark Post? Open it up on your web browser or download the app on your iPad or iPhone. I make most of the graphics I use on the iPhone app (including the image for this blog post) but the web browser is perfect for classrooms with Chromebooks. You’ll sign up the first time you use it and then no matter what device you log back into (computer or smartphone) everything you’ve made will be all in one place. Adobe Spark Post is free! You can access it on the web or find more information about their iPad and iPhone apps by clicking here.
Creating Classroom Library Labels with Spark
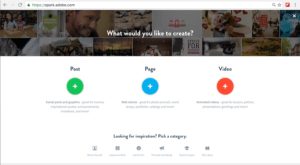
If you opened up Adobe Spark on your web browser you’ll see a few options. To make our labels we are using Post. If you’re on the Spark Post app you will be sent to the next screen automatically.
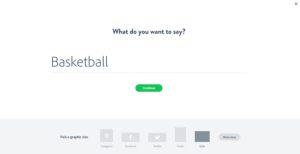
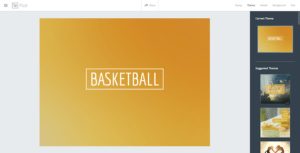
The first thing you’ll do is type in the word you want to appear on your label and choose the size of the image. I’ve chosen the word basketball imagining a bin of books full of biographies and sports stories. The image choices on the bottom of the screen align with different social media tools. If you want a square label you’ll choose Instagram, a rectangle you’ll choose Pinterest. It’s just giving you the size of the image not posting anything on social media.
After you type in your word (or phrase) and choose the image size you’re greeted with a label. This is where you can play around and make the best label for your bin. The themes on the side of the screen can give you inspiration, and the Palette tool at the top lets you try out different colors. If change your mind about the size of your shape you can switch it using the Resize button.
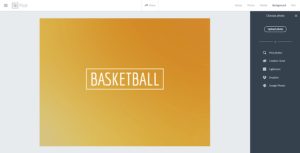
 If you tap the Background button at the top of the screen you’ll see the option to Replace photo. You’re then brought to a screen like the one below that gives you a handful of photo options. You can upload a photo saved to your device or search for a photo.
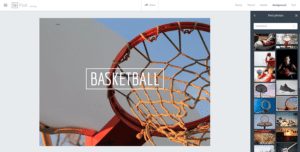
I clicked Find photo and typed in the word basketball. Then I picked by favorite image to create a new background for my label.
Customizing Library Labels
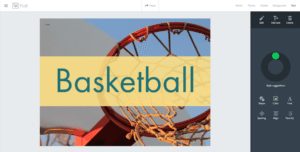
If you want to change the text on the screen tap the Text button in the upper righthand corner. This lets you add additional text or change the font, shape or color of the text on your image.
Once you’re finished click the Share button at the top of the screen. A page link the one below will show up and you’ll want to click the Download button underneath the picture. This saves the label to your device making it easy to print.
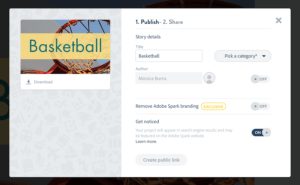
You can laminate the labels after you print them or print them out on cardstock. As a classroom teacher I used do something I called “dollar store lamination” using discount packaging tape to cover both sides, since using a laminating machine wasn’t always an option.
Customize Your Classroom Library Labels
Adding a picture is a great way for students to quickly recognize a bin. If you are working in a bilingual classroom you might decide to translate the word and add the additional text to the label. You might also decide to have students take ownership of their classroom library and make decisions on organization and labels to help them get excited about new books.
Access Adobe Spark Post on the web or find out more information about their iPad and iPhone apps by clicking here.
If you’re a regular reader of ClassTechTips.com you know how I love using technology tools like Spark Post. Have you used Spark Post in the classroom before? Want to share a tip for classroom libraries? Add it to the comments below!