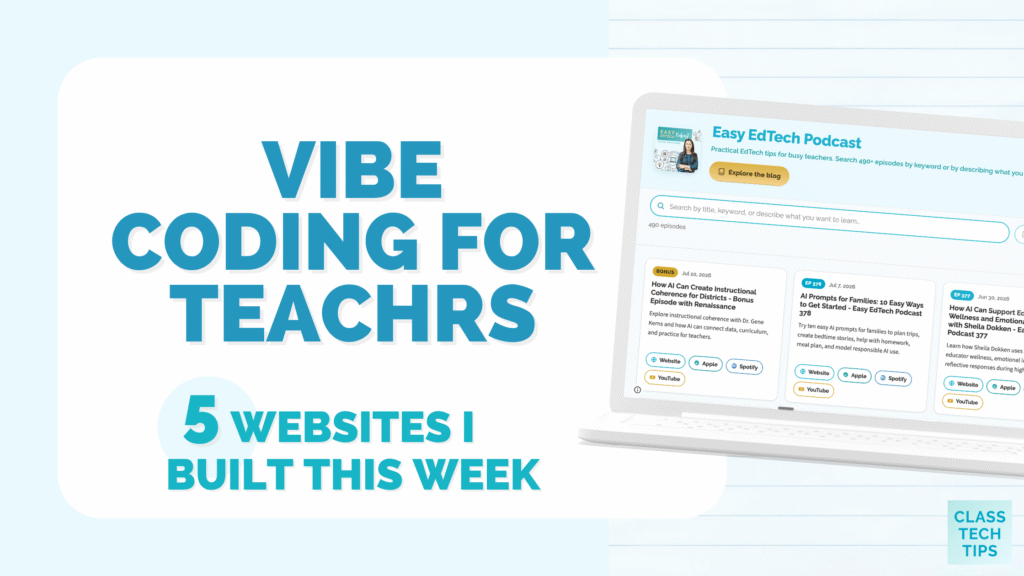
Have you tried vibe coding yet? So many of my recent conversations with educators have included a mention of something they’ve built with the help of AI. From a website to share with their colleagues to a game they built for their students, it’s wild to hear what people are building.
If vibe coding is new to you, you’re not alone. And if you’re looking for ideas, you’re in the right place. Today on the blog, I’m sharing a quick overview of vibe coding for teachers and five examples of websites I’ve vibe coded in just the past week. Seriously, I built all of these in the past seven days.
How Does Vibe Coding Work for Teachers?
Vibe coding is a way of building websites, apps, and tools by describing what you want in everyday language and letting an AI chatbot write the code for you. The term comes from AI researcher Andrej Karpathy, who coined it in early 2025. The big idea? You don’t need to know how to code. Instead, you just need to know what you want to build.
You can vibe code with a few different tools. The two tools I have used to create HTML code for a website are Gemini and Claude. I’ve had mixed success with Gemini. Sometimes it works great, other times not so much. I’ve found Claude to be my best bet, and it’s what I used to create the five websites I alluded to in the title of this blog post. For teachers, that might mean building a classroom resource hub, a searchable directory, or a custom tool for your students.
Although there are so many ways you can go about this, I’ve tried to keep the workflow simple. This way I can share it with educators who are in the beginning or intermediate stages of using AI. Helping make EdTech easier has always been the focus of my workshops and webinars, so I tried to keep the workflow pretty straightforward here, too.
5 Websites I Vibe Coded This Week
As I mentioned earlier, vibe coding has been front of mind for me after a trip to the ISTELive Conference in Orlando, a meet up with Apple Distinguished Educators in New York City, and lots of interviews for upcoming episodes of my podcast.
So this week I finally sat down to bring a few of my new ideas to life. And today on the blog, I’m ready to share what I created with you. If you’ve created something you’d like to share, or have an idea you’re working on, let me know! Just reply to any of my Monday newsletters. I read every email that comes my way, and you can sign up for free here.
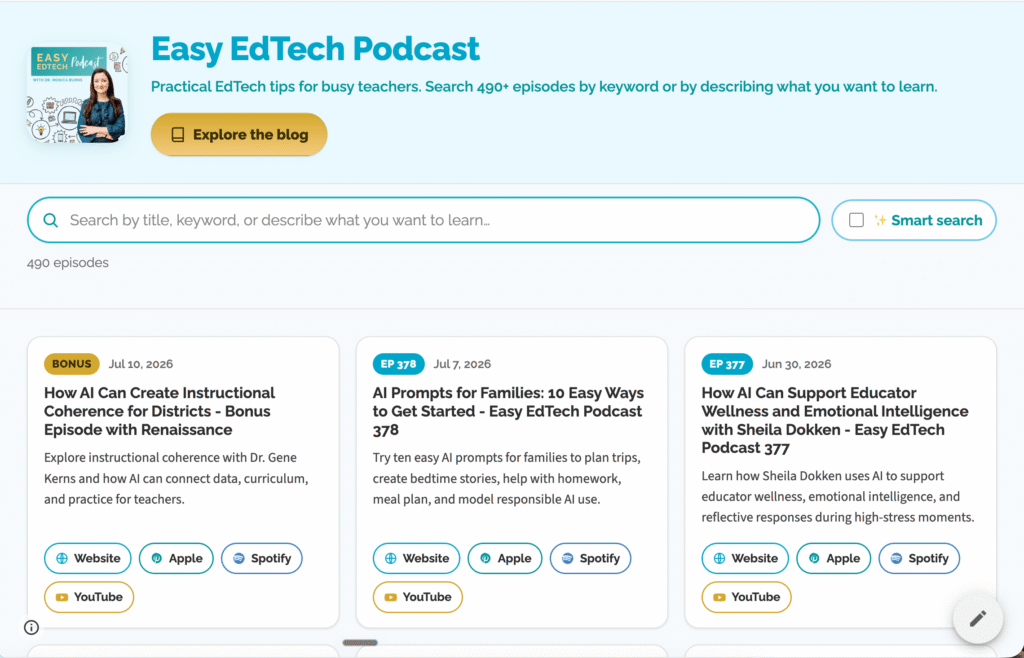
1. Search The Easy EdTech Podcast
The first website I coded is a directory of my podcast. My goal was to make it easier to search for topics and guests. Type in a query, and you’ll see episodes that match. Each episode includes links to play it on your favorite podcast platform (like Apple Podcasts, Spotify, or YouTube for most of them). It also includes a link to listen on the blog.
Check out the website I vibe coded here >>
2. EdTech Idea Finder
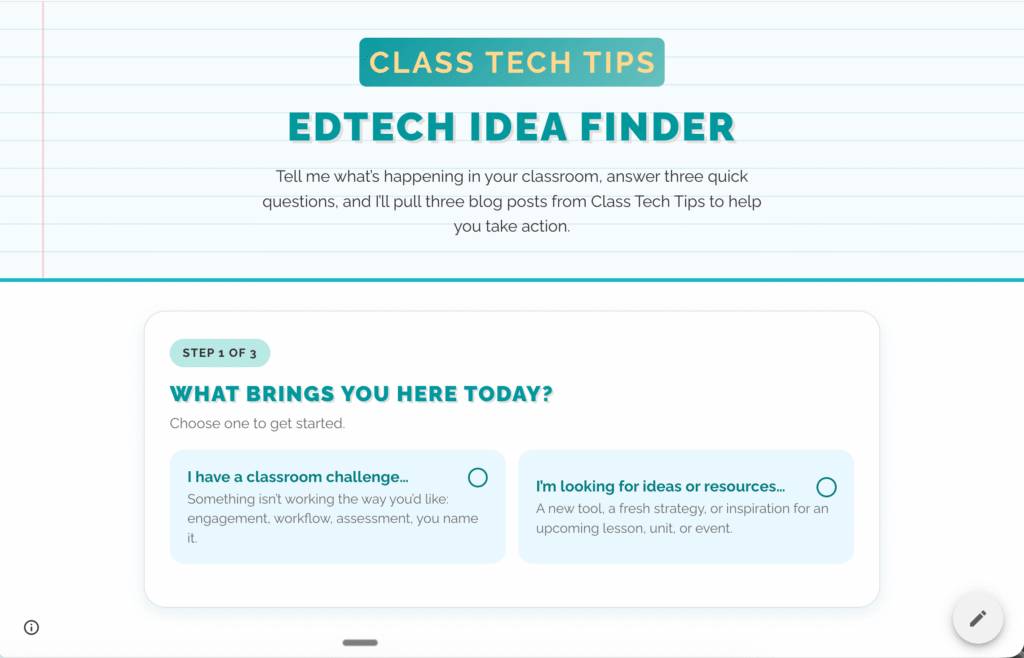
The next one asks you to share something you’re looking for or a problem you have, then follows up with just three questions. From there, it suggests just three posts from my blog that might be helpful. I wanted this one to stay simple and not overwhelm you with search results so it gives you only three posts to look at. Although I started the blog in 2012, I set it up to favor more recent posts in its suggestions.
Check out the website I vibe coded here >>
3. Masterclass Directory
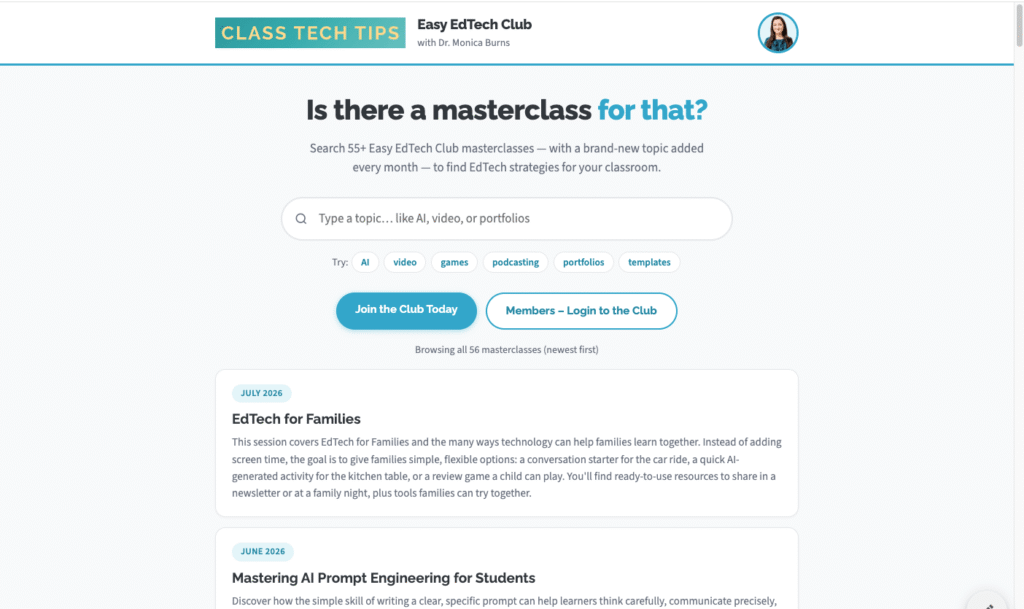
I created a site for members of my Easy EdTech Club, or anyone curious about it, where you can search for masterclasses topics and see what you have access to. Members can search and see what masterclasses are available to them, and then log in and access the materials. Anyone who isn’t a member but is curious about the Easy EdTech Club can type in some topics and see what’s available to them when they sign up.
Check out the website I vibe coded here >>
4. Recipe Remix
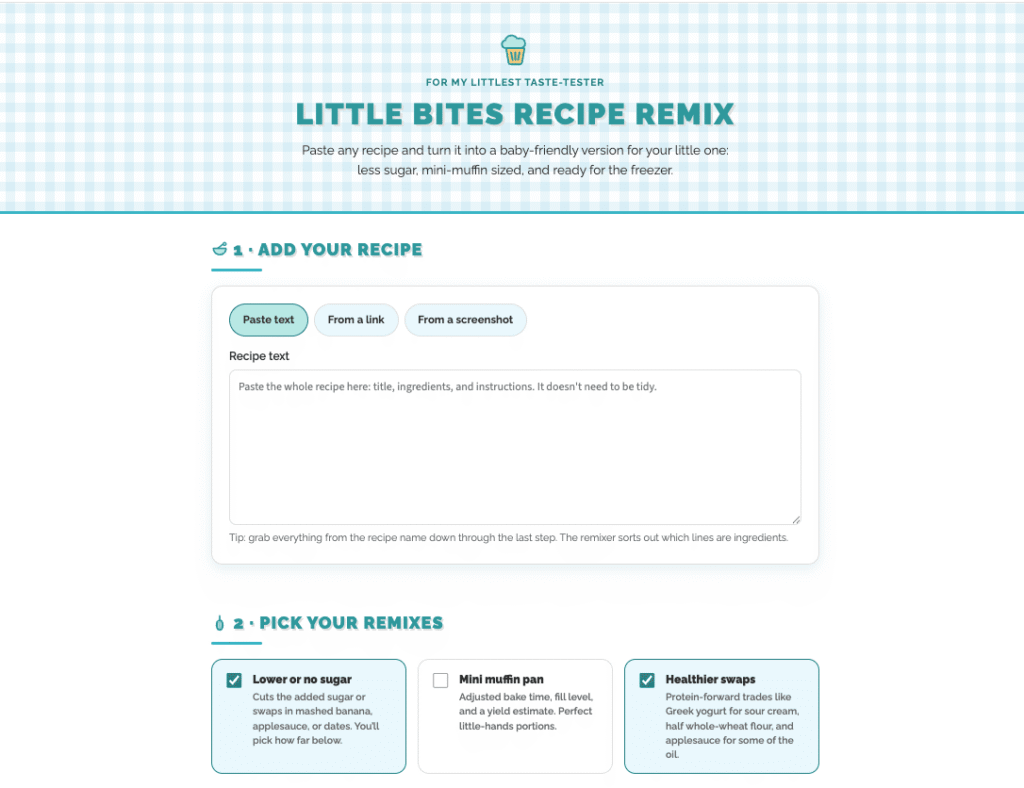
This one is more personal, although you can see it carried over my branding. It’s a tool that lets me put in a recipe I like but want to make sure is friendly for my little one. It’s not quite ready for me to share just yet (I’m still making some updates to it), but it’s been super helpful so far.
5. Two PD Certificate Generator Websites
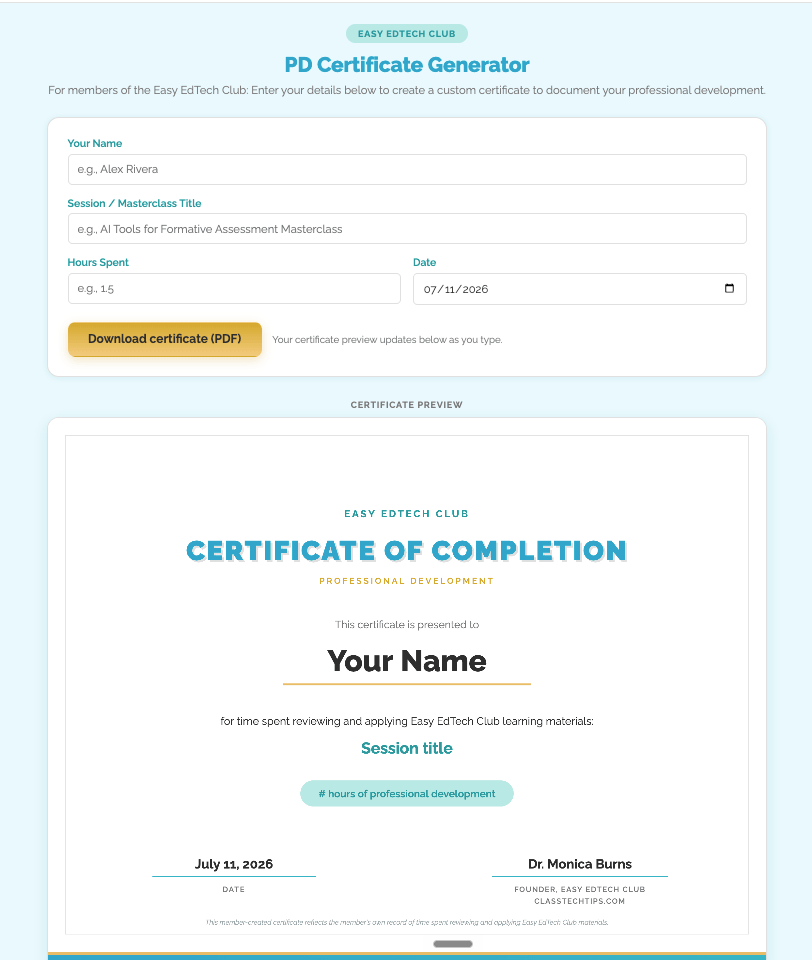
Number five on the list is really two websites that are similar to each other. One I built for members of my Easy EdTech Club, and the other is for members of my AI in Education Membership. The websites I created build custom PD certificates, so members can enter information like their name, the masterclass they watched, and the time they put into trying out ideas.
Each certificate includes a note at the bottom that it’s a member-created certificate. These two are just for members of the groups (you can join in if you like, enrollment is open now). If you’re already a member, you should have seen an email come through on Monday morning with the link to this.
How Does Vibe Coding Work?
To make these five websites, I basically followed the same steps with slightly different instructions each time.
Essentially, I opened up Claude, described what I wanted to build, and created code I could paste into a Google Site. Of course there was plenty of back and forth in the chat to get the websites the way I wanted them to look.
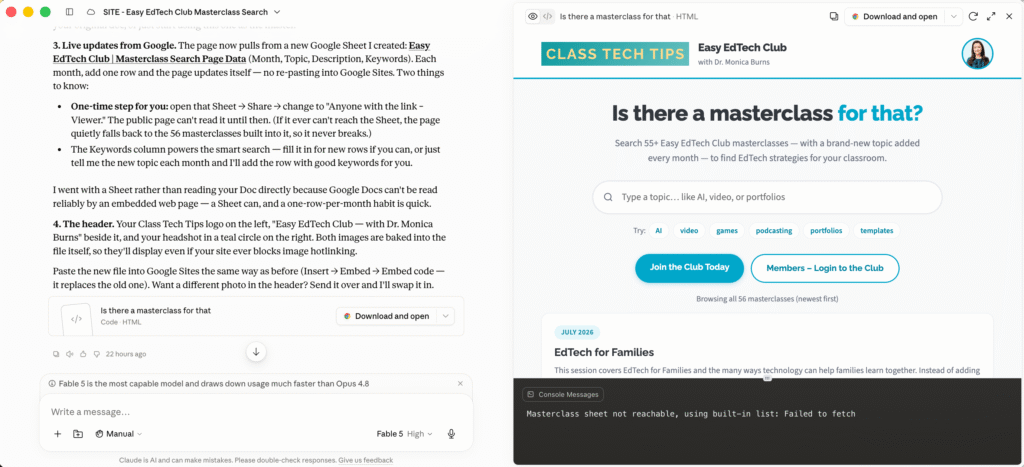
In Gemini, you can do something similar using the Canvas tool to create HTML code. Gemini totally works for this, but I’ve found more success using Claude. Once you have the code you can paste it into any site that accepts HTML code. Instead of pasting it into my website, I actually used Google Sites for this. In Google Sites there is the option to add a full page of HTML.
A few behind-the-scenes notes: I have a paid plan for Claude and Gemini, but that isn’t necessary for vibe coding. You can do it with the free versions. And because Claude already has the information for my brand (colors, fonts, and logos), it was quick for it to match my branding.
Getting Started with Vibe Coding
Ready to get started with vibe coding for educators? Head over to your AI chatbot of choice (one that provides HTML code as the output) and see what you can create. This might require more patience and problem solving than your typical chatbot interaction, but I think it’s definitely worth trying out.
If you’re interested, I plan to go into more detail, with screenshares and step-by-step instructions, in a future Easy EdTech Club masterclass (sign up here). But I hope this blog post, with a few examples you can click on and try out, gets your wheels spinning!