What type of visuals hang on the walls of your classroom? Whether you create anchor charts, graphics, or classroom posters for your students, there is a free, easy-to-use tool for teachers (and students) you can use to create classroom posters. With this awesome, open-ended creation tool, the possibilities are endless!
Spark Post is a simple graphic design tool that anyone can use. It works on web-browsers so it is Chromebook-friendly and compatible with other laptops. There is also an iOS app for iPad and iPhone users. One thing I love about Spark Post is how I can start a project on my phone and then pick up where I left off on my laptop.
Classroom posters and anchor charts are a great way to communicate ideas to students. You might create a visual that provides an overview of new vocabulary words or shares steps for how to solve a problem. Once you’ve created your graphic with Spark Post, you can hang up these reference charts in your classroom or share the images in an LMS for students to access from anywhere.
Making Classroom Posters
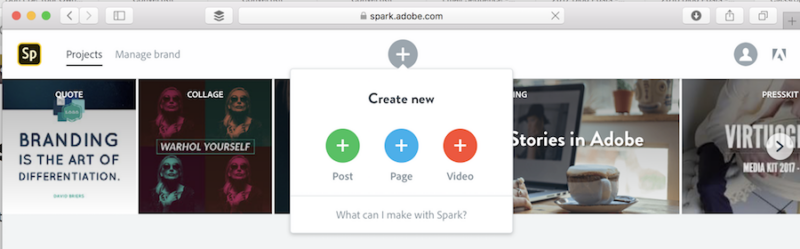
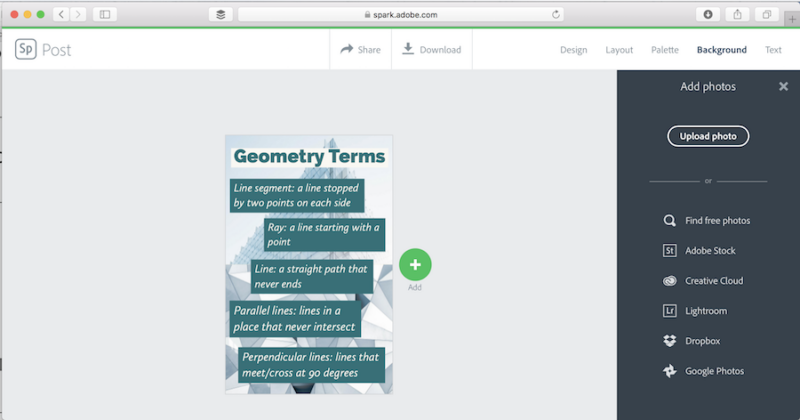
Spark Post lets you layer text over images to create a graphic. First, head over to Adobe Spark’s website or download the Spark Post iOS app. Log in using your Google-hosted account or create a free account to get started. In the example below you can see that I’ve logged into the web version of Spark and chosen the Post option from the top of the screen. The next step is to add text to your poster – I usually start with the poster title.
Customizable Sizing
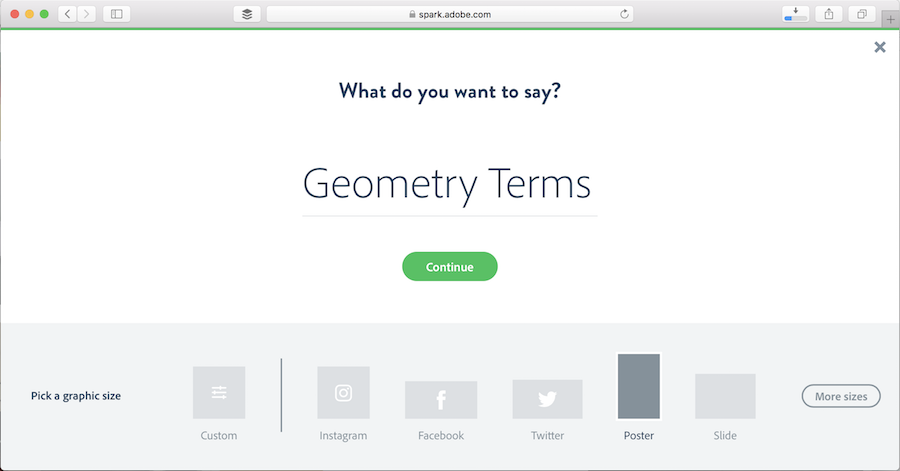
In the screenshot below you can see there are a few different size options for your creation. I chose the Poster size to make a reference chart in the traditional shape of a poster. If you haven’t used Spark Post recently, the new update now lets you choose custom sizes in case you would like your poster to have a specific height and width. Tip: You can always change the size later using the Resize feature.
Images for Classroom Posters
Every time you want to add a new piece of text, a color block, or an image to your creation, you can tap on the green plus sign next to your poster. If you don’t have your own images to add you can use the search feature to find free photos to include in your poster. When you’re ready to add text or images, simply click on the green button to add more onto your poster.
Sharing Classroom Posters
When you’re ready to share your poster you have a few different options. At the top of the screen is the Download button so you can automatically share your image as a JPG or PNG file. This is a great option if you want to print out your classroom poster or send it to a poster making machine. Another great option is to share your poster as a link. I created a link to my final poster which you can see here.
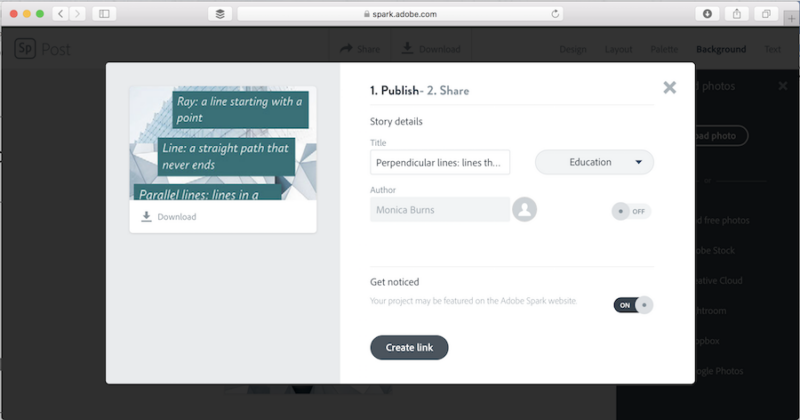
When you create a link you can:
- share these resources with families
- post the link to Google Classroom
- connect the link to a QR code
- post the link to Pinterest or your favorite social media network.
Everything I shared in this blog post is totally free to create. All you have to do is head over to Adobe Spark’s website and get started with Spark Post. If you want to learn more about customizing your posters with a school logo, custom fonts, or custom colors, I share how the Spark tools can be used for personal branding for students and educators in this blog post.
Want to learn more about using Adobe Spark in the classroom? Head over to their website to get started or check out this post: All About Me Projects for Google Classroom (made with Spark Video!)